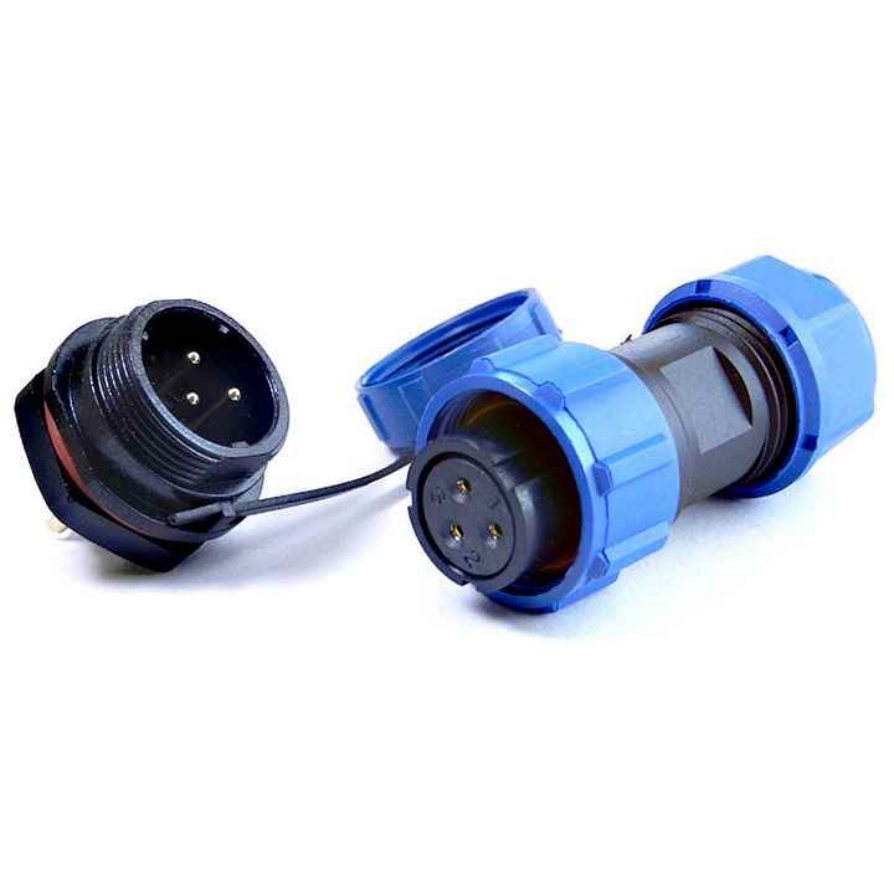
How to install a machine cable properly
Installing a machine cable properly is crucial for ensuring the safe and efficient operation of equipment. A poorly installed cable can lead to electrical faults, equipment damage, and even safety hazards. Here is a step-by-step guide to help you install a machine cable correctly.
First, gather all the necessary tools and materials. You will need the appropriate cable, cable cutters, wire strippers, crimping tools, electrical tape, cable ties, and possibly a screwdriver or wrench depending on the connection type. Make sure the cable is rated for the voltage and current requirements of the machine to avoid overheating or failure.
Next, prepare the installation area. Clear any debris or obstacles that could interfere with the cable routing. Check the path where the cable will run to ensure it is away from sharp edges, moving parts, and sources of heat or moisture. If the cable needs to be routed through walls or floors, use appropriate conduits or grommets to protect it.
Then, measure and cut the cable to the required length. Leave a little extra length to allow for easy connections and any future adjustments. Use cable cutters to make a clean, straight cut. Avoid bending or twisting the cable excessively during this process as it can damage the internal wires.
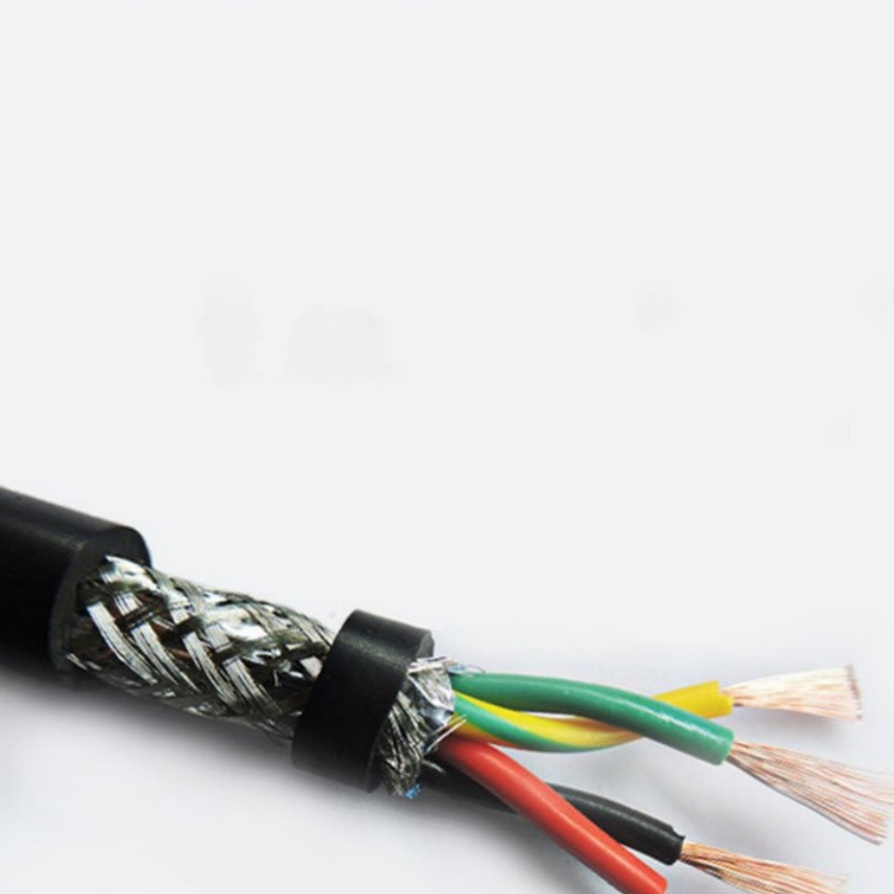
After cutting the cable, strip the insulation from the ends. Use wire strippers to remove the outer insulation, being careful not to nick or cut the internal conductors. The length of the stripped insulation should be appropriate for the type of connector you are using. Follow the manufacturer’s instructions for the correct stripping length.
Once the insulation is stripped, prepare the conductors. If the cable has multiple conductors, separate them and straighten any kinks. Check for any damage to the conductors, such as cuts or fraying, and if found, cut off the damaged portion and re-strip the insulation.
Now, make the connections. Depending on the machine’s terminals, you may need to crimp connectors onto the conductors or attach them directly using screws. Ensure the connections are tight and secure to prevent loose wires, which can cause arcing and overheating. Use the correct size of crimp connectors and crimp them properly with a crimping tool. For screw terminals, tighten the screws firmly but not too much to avoid damaging the conductors.
After making the connections, insulate them properly. Wrap electrical tape around the connections to provide insulation and protect against short circuits. Ensure the tape covers the entire exposed conductor and overlaps with the insulation of the cable. For added protection, you can also use heat-shrink tubing, which shrinks when heated to form a tight seal.
Route the cable along the prepared path. Use cable ties to secure the cable at regular intervals, keeping it neat and preventing it from sagging or moving. Avoid pulling the cable too tight, as this can strain the connections. Ensure there is no tension on the cable that could cause it to come loose over time.
Finally, perform a thorough inspection. Check all connections to make sure they are tight and properly insulated. Verify that the cable is routed correctly and secured properly. Test the machine to ensure it is functioning correctly with the new cable installation. If any issues are found, disconnect the power and troubleshoot the problem before putting the machine back into operation.
In conclusion, proper installation of a machine cable requires careful preparation, attention to detail, and following the correct procedures. By taking the time to install the cable properly, you can ensure the safety and reliability of your equipment, reduce the risk of breakdowns, and extend the lifespan of the cable and the machine.


