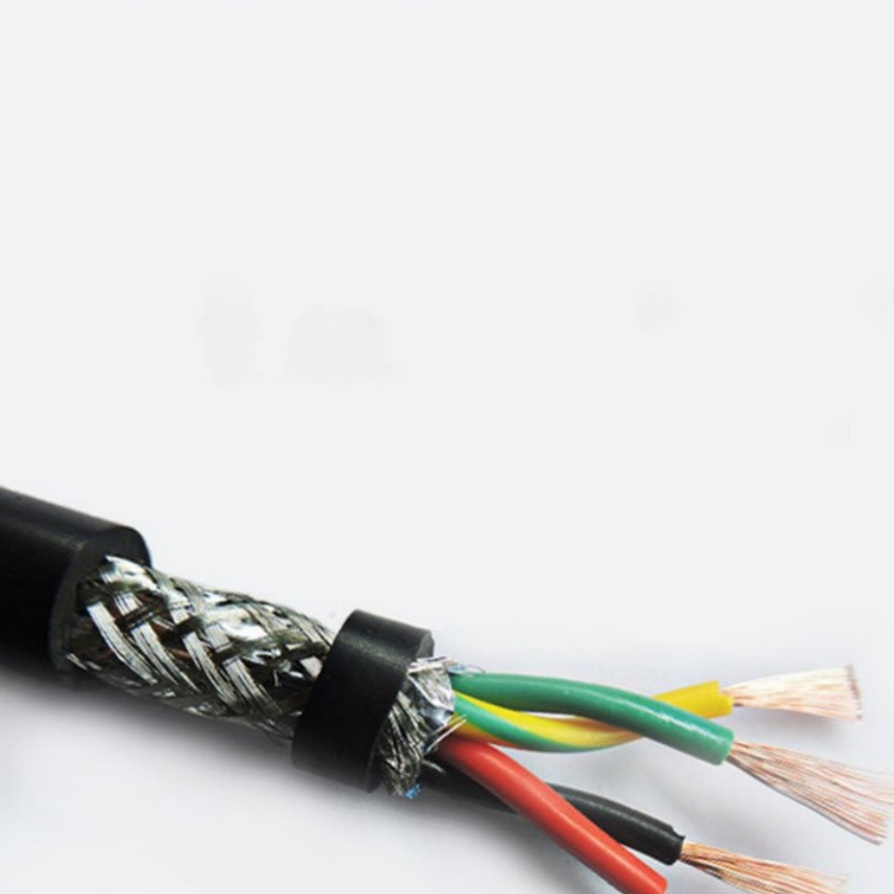
How to Repair a Damaged Machine Cable
Machine cables are the lifelines of industrial equipment, but they’re prone to damage from friction, impact, or aging. A damaged cable can disrupt operations or even pose safety risks like short circuits or electric shocks. With the right tools and steps, many cable issues can be fixed effectively. Here’s a step-by-step guide to help you repair a damaged machine cable safely and reliably.
1. Prioritize Safety First
Before starting any repair, disconnect the cable from its power source and equipment. Use a voltage tester to confirm there’s no residual electricity—this step is non-negotiable to prevent accidents.
2. Assess the Damage
Inspect the cable thoroughly to identify the type and extent of damage:
- Outer Sheath Damage: If only the protective outer layer is cracked or worn (but inner wires are intact), the fix is simpler.
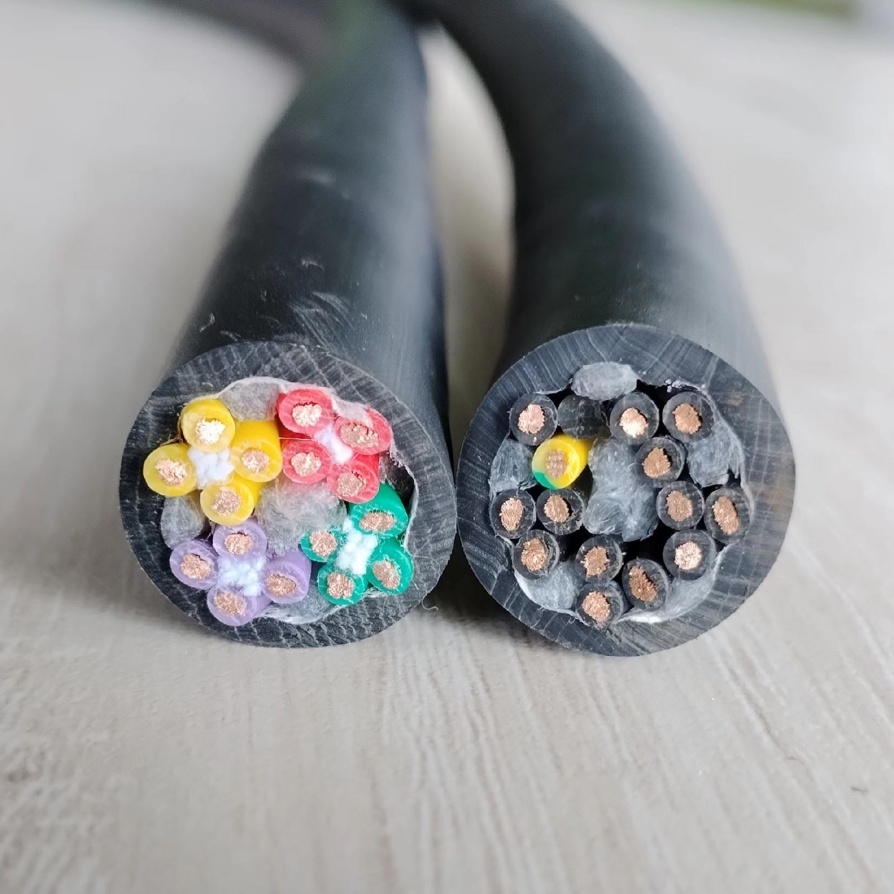
- Inner Wire Damage: Exposed, frayed, or broken conductors require more careful handling. Avoid repairing if more than 30% of the wire strands are damaged—replace the cable instead.
- Crushing or Kinking: Severe deformation may have weakened internal structures, even if the sheath looks intact. Such cases often warrant replacement.
3. Gather Tools and Materials
You’ll need:
- Wire strippers (appropriate for the cable gauge)
- Electrical tape (rated for the cable’s voltage)
- Heat-shrink tubing (matching the cable diameter, with a 2:1 shrink ratio)
- Heat gun or lighter (for shrinking tubing)
- Soldering iron and solder (if wires are broken)
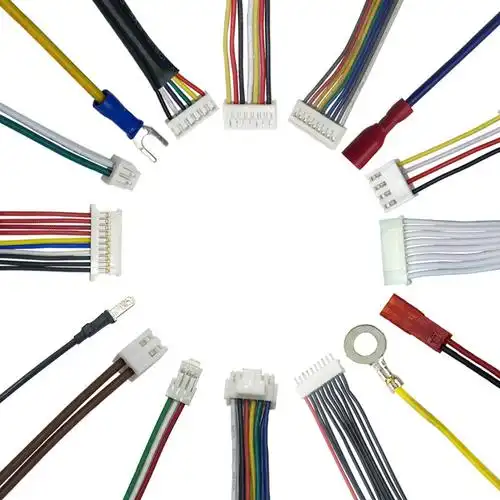
- Wire connectors or terminals (for secure joins)
- Cable ties (to reinforce repairs)
4. Repair Steps
For Outer Sheath Damage:
- Clean the damaged area with a dry cloth to remove dirt or debris.
- Cut a piece of heat-shrink tubing 2–3 inches longer than the damaged section. Slide it over the cable, ensuring it covers the damaged area with extra length on both sides.
- Heat the tubing evenly with a heat gun (keep the flame 4–6 inches away if using a lighter) until it shrinks tightly around the cable. Avoid overheating, as this can damage inner wires.
- For added protection, wrap electrical tape over the shrunk tubing, overlapping each layer by half its width.
For Exposed or Frayed Wires:
- Carefully trim frayed wire ends with wire cutters to create clean, even edges.
- Strip ¼–½ inch of insulation from the ends of the exposed wires using strippers. Be gentle to avoid nicking the conductors.
- Twist the strands of each wire together to prevent fraying. If wires are broken, solder the ends together: heat the wires with a soldering iron, apply solder until it flows evenly, then let cool.
- Slide heat-shrink tubing over one side of the repaired wire, then position it over the soldered joint. Shrink it as described earlier.
- Wrap the repaired section with electrical tape, extending 1 inch beyond the heat-shrink tubing on both sides.
For Severe Damage (e.g., Multiple Wires Affected):
If several wires are damaged, consider using wire connectors:
- Strip insulation from each wire end and twist strands.
- Insert each wire into a matching terminal or connector, crimping it tightly with a crimping tool.
- Cover each connector with heat-shrink tubing, then secure the entire bundle with electrical tape and cable ties to prevent strain on the joints.
5. Test the Repair
After completing the repair:
- Visually inspect the area to ensure all connections are secure and insulation is intact.
- Use a multimeter to check for continuity (to confirm wires are properly joined) and insulation resistance (to ensure no short circuits).
- Reconnect the cable to the equipment and power source, then run a test operation to verify functionality.
6. Post-Repair Maintenance
To prevent future damage:
- Route the repaired cable away from sharp edges, moving parts, or high-heat areas.
- Use cable protectors or conduits in high-wear zones.
- Inspect repaired cables regularly for signs of stress or re-damage.
Remember: While repairs can extend a cable’s life, they’re temporary fixes. For critical equipment or cables with extensive damage, replacing the entire cable is the safest long-term solution. Always follow manufacturer guidelines for cable specifications and voltage ratings to ensure compatibility.


