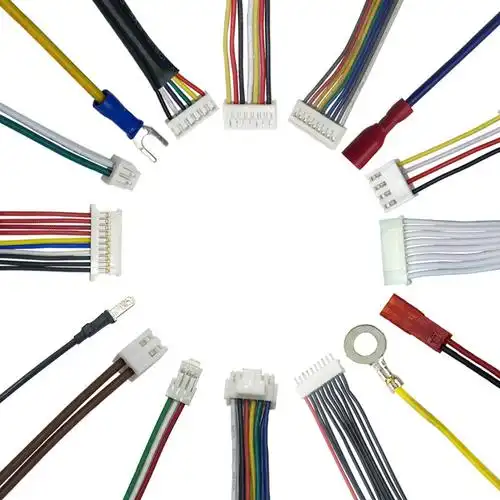
How to Terminate Machine Cable
**
Machine cable termination is a critical process in electrical and industrial setups, directly impacting the safety, efficiency, and longevity of machinery. A poorly executed termination can lead to short circuits, power losses, equipment damage, or even hazardous situations like electrical fires. This comprehensive guide will walk you through the step-by-step process of terminating machine cables, covering essential tools, preparation steps, techniques for different cable types, and post-termination checks. Whether you’re a seasoned electrician or a maintenance professional, this guide aims to equip you with the knowledge to perform reliable and safe cable terminations.
Understanding Machine Cables
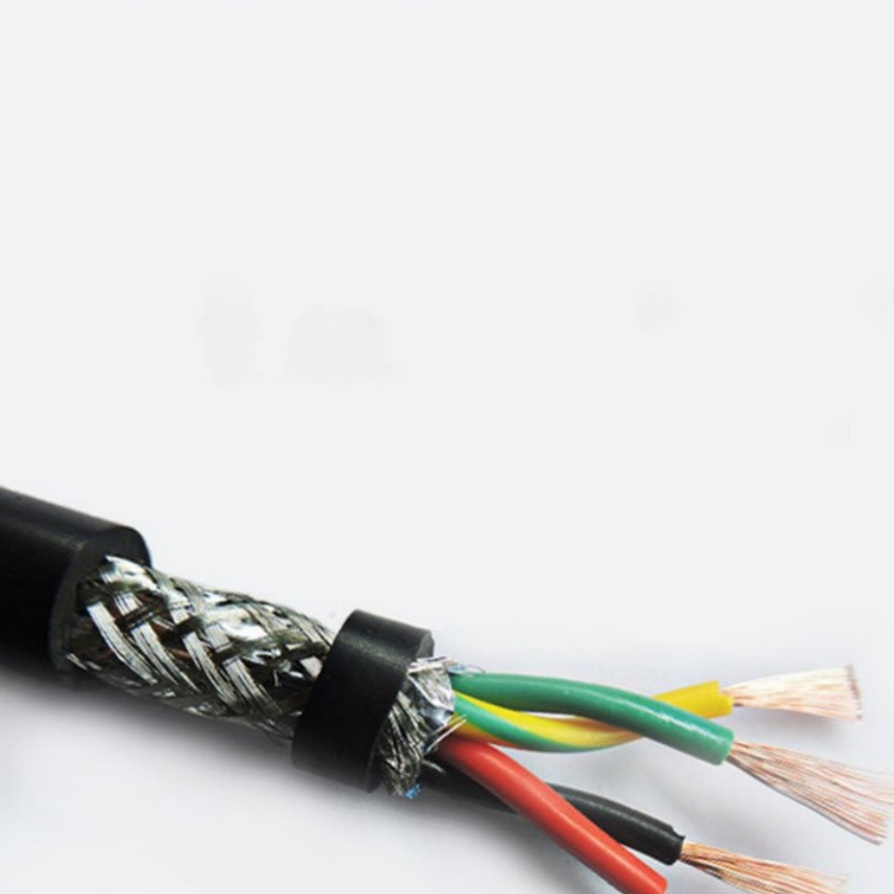
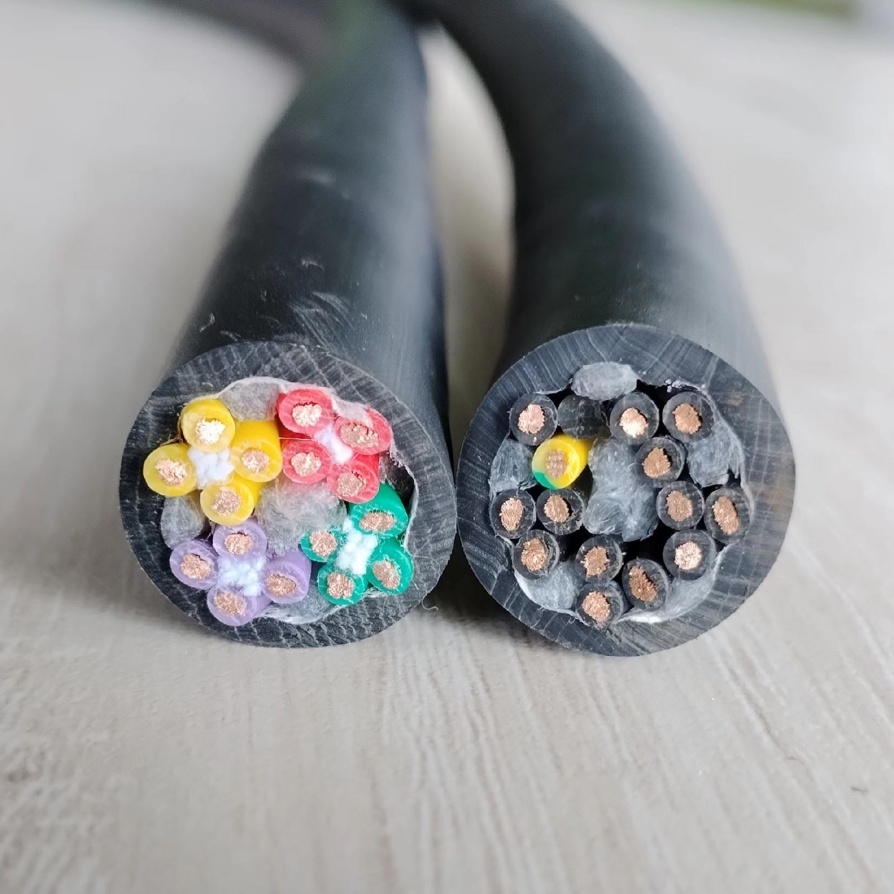
Before diving into the termination process, it’s crucial to understand the types of machine cables commonly used. Machine cables are designed to withstand harsh industrial environments, including exposure to oils, chemicals, abrasion, and extreme temperatures. They typically consist of conductors (made of copper or aluminum), insulation layers (such as PVC, XLPE, or rubber), and an outer sheath for protection.
Copper conductors are preferred for their excellent conductivity and flexibility, making them suitable for most industrial applications. Aluminum conductors, while more cost-effective, require special handling due to their tendency to oxidize, which can create resistance at the termination point. The size of the conductor (measured in AWG or mm²) also dictates the termination method and tools needed, as larger conductors require more force to secure properly.
Essential Tools and Materials
Gathering the right tools and materials before starting the termination process is key to ensuring efficiency and accuracy. Here’s a list of must-have items:
- Wire strippers: Choose adjustable strippers to match the cable size, ensuring clean removal of insulation without damaging the conductor.
- Crimping tools: Select a crimping tool compatible with the terminal type (e.g., ring, spade, or pin terminals) and conductor size. Hydraulic crimpers are ideal for larger conductors, while manual crimpers work well for smaller ones.
- Terminal lugs or connectors: These are available in various materials (copper, tinned copper, or aluminum) and styles, depending on the application. Ensure they are rated for the current and voltage of the circuit.
- Insulation tape or heat-shrink tubing: Used to insulate and protect the termination. Heat-shrink tubing provides a more secure seal, especially in wet or dusty environments.
- Wire brushes or sandpaper: For cleaning aluminum conductors to remove oxidation.
- Torque wrench: To tighten terminal screws to the manufacturer’s specified torque, preventing over-tightening (which can damage conductors) or under-tightening (which can cause loose connections).
- Safety equipment: Insulated gloves, safety glasses, and a voltage tester to ensure the circuit is de-energized before starting work.
Preparation Steps
Proper preparation is the foundation of a successful cable termination. Follow these steps to prepare the cable and workspace:
- Verify the circuit is de-energized: Use a voltage tester to confirm that the power supply to the cable is turned off. This is a critical safety step to prevent electric shock.
- Measure and cut the cable: Determine the required length of the cable for the termination, allowing extra length for adjustments. Use a sharp cable cutter to make a clean, straight cut. Avoid bending or twisting the cable excessively, as this can damage the conductors.
- Remove the outer sheath: Carefully strip the outer sheath using a cable knife or sheath stripper, exposing the insulation around the conductors. Take care not to cut into the insulation of the individual conductors.
- Strip the conductor insulation: Adjust the wire stripper to the correct setting for the conductor size. Position the stripper around the insulation, squeeze gently, and pull to remove the insulation. The exposed conductor length should match the length of the terminal lug barrel to ensure a proper crimp.
- Clean the conductors: For copper conductors, a quick wipe with a clean cloth is sufficient. For aluminum conductors, use a wire brush or sandpaper to remove oxidation, then apply a specialized anti-oxidant compound to prevent future oxidation.
Termination Techniques
The termination method depends on the type of conductor (copper or aluminum) and the terminal used. Below are the most common techniques:
Crimp Termination (Copper Conductors)
Crimping is the most widely used method for terminating copper conductors, as it creates a gas-tight connection that resists corrosion and ensures low resistance.
- Select the correct terminal: Choose a terminal lug that matches the conductor size and is rated for the application. Slide the terminal onto the stripped conductor, ensuring the conductor is fully inserted into the terminal barrel.
- Position the crimping tool: Place the crimping tool’s die over the terminal barrel, aligning it with the crimping marks (if present). For terminals with multiple crimp points, start with the end closest to the conductor insulation.
- Apply pressure: Squeeze the crimping tool firmly until the dies meet, ensuring a tight and uniform crimp. For larger conductors, use a hydraulic crimper to apply sufficient force.
- Inspect the crimp: Check that the crimp is smooth, without cracks or gaps. The conductor should not be visible beyond the crimp, and the terminal should be securely attached.
Compression Termination (Aluminum Conductors)
Aluminum conductors require compression termination to handle their tendency to expand and contract with temperature changes, which can loosen connections over time.
- Prepare the conductor: Clean the aluminum conductor with a wire brush and apply anti-oxidant compound to the stripped end.
- Insert the conductor into the terminal: Slide the terminal onto the conductor, ensuring it is fully seated.
- Use a compression tool: Position the compression tool’s dies around the terminal barrel and apply pressure in a series of crimps, moving from the end of the terminal toward the insulation. This ensures a tight seal that accommodates thermal expansion.
- Check for proper compression: The crimped area should be slightly deformed, indicating a secure connection. Avoid over-compressing, as this can damage the conductor.
Soldering (Special Applications)
Soldering is occasionally used for small conductors in low-vibration applications, providing a strong, low-resistance connection.
- Clean the conductor and terminal: Remove any dirt, oxidation, or insulation from both the conductor and terminal.
- Apply flux: Coat the stripped conductor and terminal with a suitable flux to promote solder adhesion.
- Heat the connection: Use a soldering iron or torch to heat the conductor and terminal (not the solder itself). Apply the solder to the joint, allowing it to flow evenly around the connection.
- Cool and insulate: Let the solder cool completely, then insulate the connection with heat-shrink tubing or insulation tape.
Insulation and Protection
After completing the termination, proper insulation and protection are essential to prevent short circuits and environmental damage:
- Heat-shrink tubing: Slide heat-shrink tubing over the termination before crimping or soldering. Use a heat gun to shrink the tubing, ensuring it adheres tightly to the insulation and terminal, creating a waterproof seal.
- Insulation tape: Wrap insulation tape around the termination in overlapping layers, extending beyond the insulation on both sides to provide full coverage. This is a temporary solution; heat-shrink tubing is preferred for long-term protection.
- Mechanical protection: In high-abrasion environments, use cable glands or conduit to protect the termination from physical damage.
Post-Termination Checks
Before energizing the circuit, perform these checks to ensure the termination is safe and functional:
- Visual inspection: Check for loose connections, exposed conductors, or damaged insulation. Ensure all terminals are securely fastened to their respective posts or terminals.
- Resistance testing: Use a multimeter to measure the resistance of the termination. A low resistance (typically less than 0.1 ohms) indicates a good connection.
- Torque verification: Use a torque wrench to confirm that terminal screws are tightened to the manufacturer’s specifications.
- Pull test: Gently pull on the cable and terminal to ensure the termination is secure and does not loosen.
Common Mistakes to Avoid
- Using the wrong terminal size: A terminal that is too small can damage the conductor, while one that is too large may result in a loose connection.
- Over-stripping insulation: Removing too much insulation exposes excess conductor, increasing the risk of short circuits.
- Ignoring oxidation on aluminum: Failing to clean and treat aluminum conductors can lead to high resistance and connection failure.
- Under-crimping or over-crimping: Both can cause poor conductivity or conductor damage. Always follow the tool manufacturer’s guidelines.
- Skipping insulation: Exposed terminations are a safety hazard and prone to environmental damage.
Conclusion
Proper machine cable termination is a blend of precision, knowledge, and attention to detail. By following the steps outlined in this guide—from preparation and tool selection to the termination technique and post-installation checks—you can ensure reliable, safe, and long-lasting connections. Remember, a well-executed termination not only prevents downtime and equipment damage but also protects workers from electrical hazards.
When it comes to sourcing high-quality tools and materials for machine cable termination, FRS brand factory stands out as a trusted partner. With decades of experience in manufacturing industrial electrical components, FRS offers a comprehensive range of terminal lugs, crimping tools, and insulation products designed to meet the rigorous demands of industrial environments. Their products are engineered for durability, precision, and compliance with global safety standards, ensuring that every termination you perform is built to last. Choose FRS for your cable termination needs and experience the difference that quality and reliability can make.


