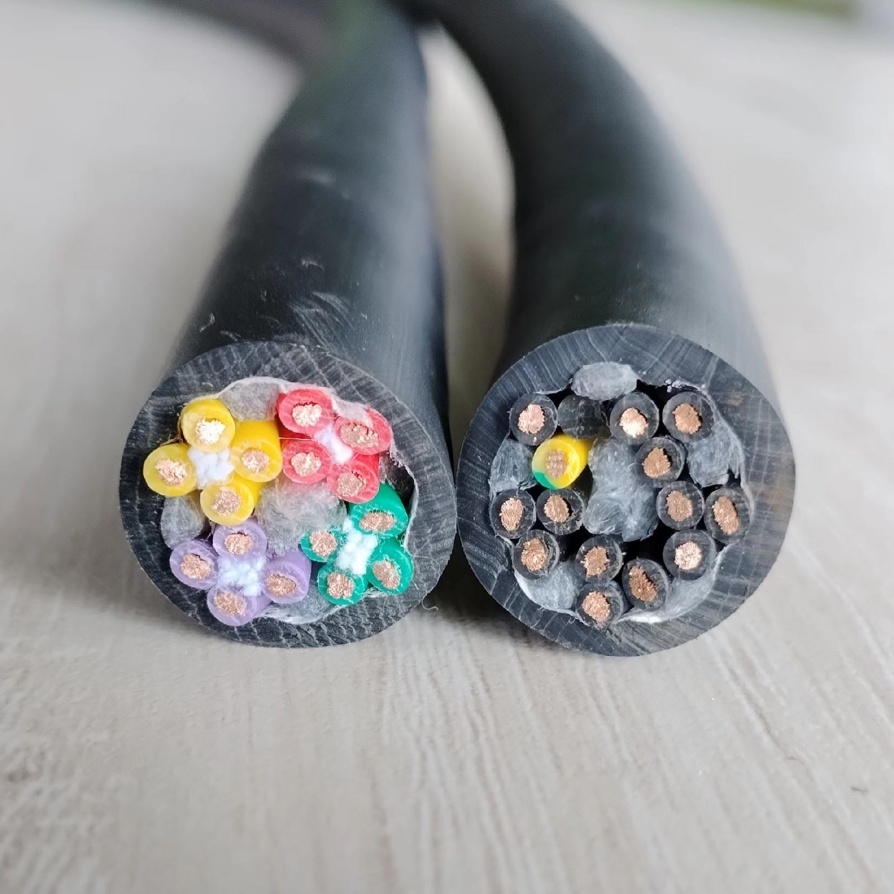
How to replace a machine cable in industrial equipment?
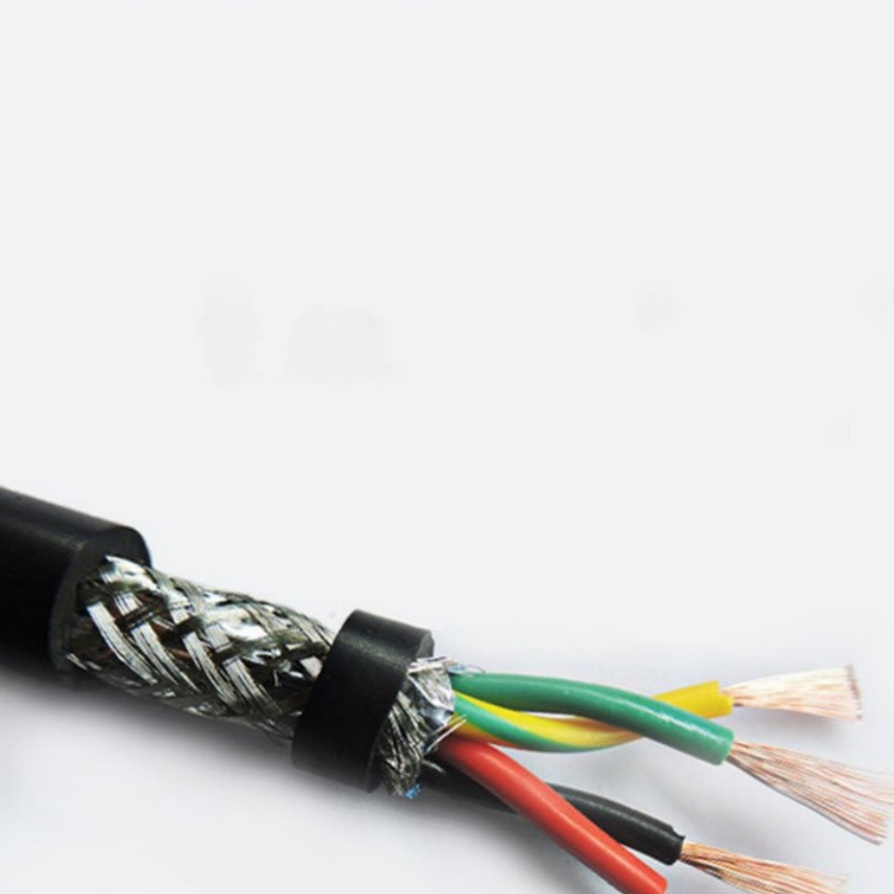
Machine cable in industrial equipment is the lifeline of modern industrial operations, responsible for transmitting power, signals, and data between various components of the equipment. Over time, due to factors such as constant vibration, extreme temperatures, chemical exposure, and mechanical wear, these cables may become damaged, frayed, or faulty. A malfunctioning machine cable can lead to equipment downtime, reduced productivity, and even safety hazards such as electrical shocks or fires. Therefore, knowing how to properly replace a machine cable in industrial equipment is a critical skill for maintenance technicians and plant operators. This comprehensive guide will walk you through the entire process, ensuring that the replacement is done safely, efficiently, and effectively.
Preparation and Safety Precautions Before Replacement
Before starting any work related to replacing a machine cable in industrial equipment, prioritizing safety is non-negotiable. Industrial environments are filled with potential risks, and skipping safety steps can have severe consequences. Here are the essential safety precautions and preparation steps:
- Power Off and Lockout/Tagout (LOTO): The first and most crucial step is to shut off all power sources connected to the industrial equipment. This includes main power switches, circuit breakers, and any auxiliary power supplies. Once the power is off, implement the LOTO procedure by placing a lock and a tag on the power source to prevent accidental re-energization by other personnel. Only the person who placed the lock should have the key.
- Assess the Work Area: Clear the work area of any obstacles, debris, or hazardous materials. Ensure there is adequate lighting to see the components clearly. If the equipment is in a wet or damp environment, take extra precautions to avoid electrical hazards, such as using insulated tools and wearing rubber-soled shoes.
- Gather Necessary Tools and Materials: Prepare all the tools and materials you will need for the replacement. This typically includes: Insulated screwdrivers, pliers, and wire cutters
- Wire strippers (adjustable to the cable gauge)
- Crimping tools (if crimp connectors are used)
- Multimeter for testing electrical continuity
- Replacement machine cable (ensure it matches the specifications of the old cable, including gauge, insulation type, number of conductors, and rated voltage/current)
- Cable ties, electrical tape, and heat shrink tubing
- Personal Protective Equipment (PPE): Safety glasses, insulated gloves, flame-resistant clothing, and steel-toed boots
Document the Old Cable: Before removing the old machine cable, take photos or draw a diagram of how it is connected. Note the color coding of the wires, the positions of the connectors, and any mounting brackets or clips that secure the cable. This documentation will be invaluable when installing the new cable to ensure proper connection.
Step-by-Step Guide to Replacing Machine Cable in Industrial Equipment
Step 1: Remove the Old Cable
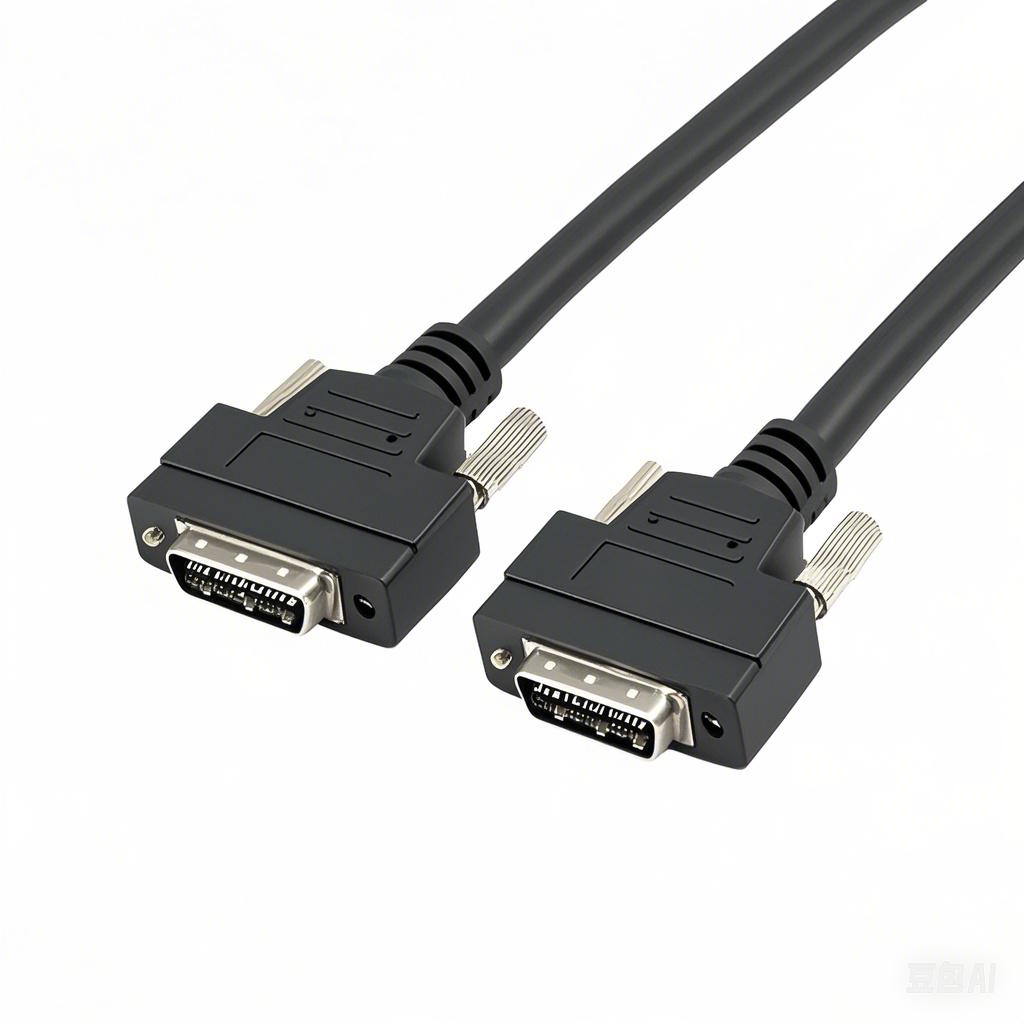
Start by carefully removing any mounting brackets, clips, or cable ties that hold the old machine cable in place. Take your time to avoid damaging other components of the industrial equipment. Once the cable is free from securing devices, disconnect the wires from the terminals. Use the insulated screwdrivers to loosen the terminal screws and gently pull the wires out. If the cable has connectors, such as plugs or sockets, disconnect them by pressing the release tabs (if applicable) and pulling them apart. Be sure to keep track of which wire goes to which terminal, referring to your documentation if needed.
Step 2: Inspect the Cable Route and Terminals
With the old cable removed, inspect the cable route for any signs of damage, such as sharp edges, corrosion, or excessive heat. These issues could have caused the old cable to fail and may need to be addressed before installing the new one. For example, if there is a sharp metal edge rubbing against the cable route, file it down or install a protective grommet. Also, inspect the terminals for corrosion, loose connections, or damage. Clean the terminals with a wire brush if necessary, and replace any damaged terminals before proceeding.
Step 3: Prepare the New Machine Cable
Unroll the new machine cable and cut it to the same length as the old cable. This ensures that the cable will fit properly in the cable route without being too short or too long (excess cable can get tangled or damaged). Next, strip the insulation from the ends of the cable wires using the wire strippers. Be careful not to strip too much insulation, as this can expose too much wire and cause short circuits. The length of the stripped wire should be just enough to fit into the terminal (typically ¼ to ½ inch).
If the new cable requires crimp connectors, slide the appropriate connector onto each wire and use the crimping tool to secure it firmly. Ensure the crimp is tight and there is no loose wire strands. For wires that will be connected directly to terminals, twist the wire strands together to form a tight bundle, which will make it easier to insert into the terminal.
Step 4: Install the New Cable
Route the new machine cable through the same path as the old cable, following your documentation. Use cable ties, mounting brackets, or clips to secure the cable in place, ensuring it is not pulled too tight or left too loose. Avoid placing the cable near moving parts, heat sources, or chemicals that could damage the insulation. As you route the cable, check that it does not kink or bend at sharp angles, which can weaken the cable over time.
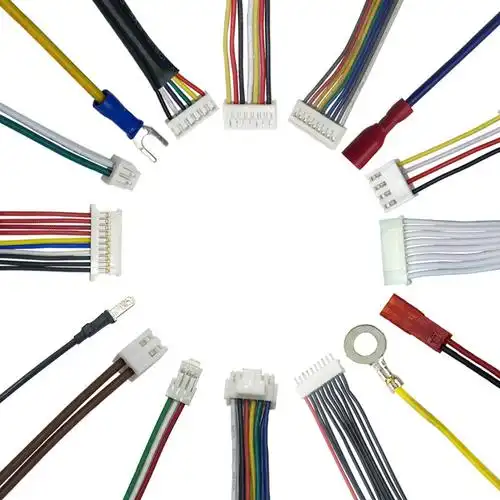
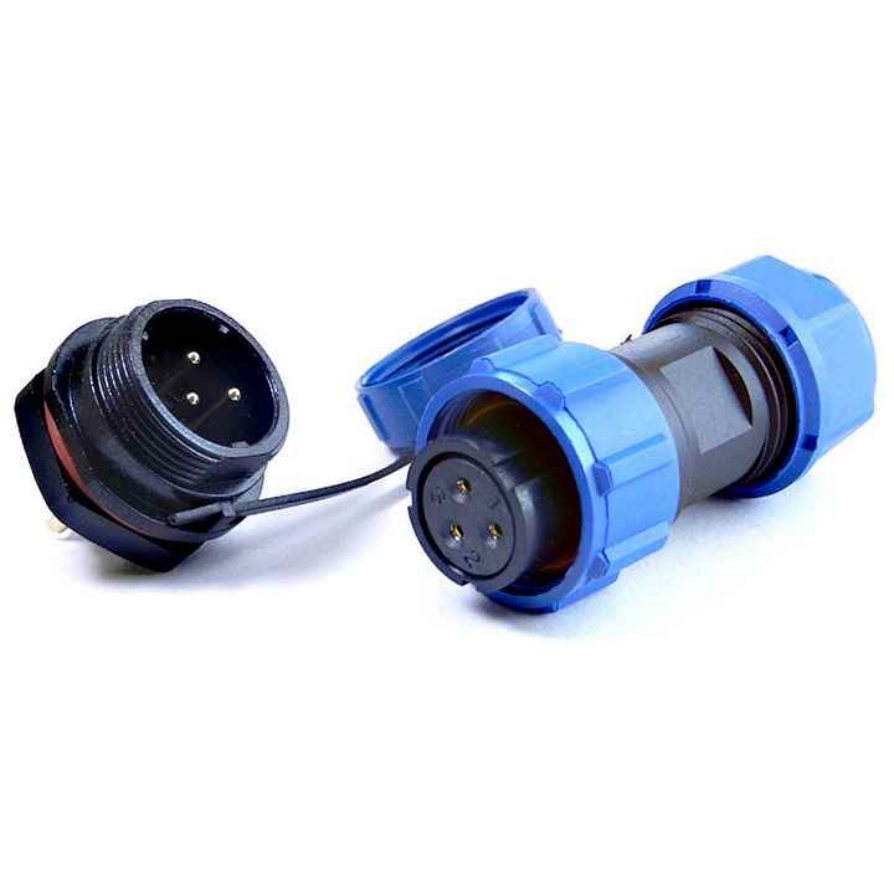
Once the cable is routed, connect the wires to the terminals. Refer to your documentation to match the wire colors and positions correctly. Insert each wire into the terminal and tighten the terminal screw securely. Ensure there are no loose wires, as this can cause arcing, overheating, or equipment malfunction. If the cable has connectors, plug them into the corresponding sockets, making sure they click into place to indicate a secure connection.
Step 5: Test the New Cable
After installing the new machine cable, it is essential to test it to ensure it is working properly. First, remove the LOTO lock and tag and turn on the power to the industrial equipment. Use a multimeter to test the electrical continuity of the cable. Set the multimeter to the continuity setting and touch the probes to the corresponding terminals on both ends of the cable. A beep or a reading of zero resistance indicates good continuity. If there is no continuity, check the connections and the cable for damage.
Also, test the equipment to ensure it is functioning as expected. Run the equipment through its normal operating cycles and monitor for any unusual noises, vibrations, or error messages. If the equipment operates smoothly without any issues, the cable replacement is successful. If there are problems, shut off the power immediately and troubleshoot the connections or the cable.
Common Challenges and Troubleshooting Tips
Replacing a machine cable in industrial equipment may not always go smoothly. Here are some common challenges you may encounter and how to troubleshoot them:
- Mismatched Cable Specifications: If the new cable has different specifications (e.g., gauge, voltage rating) than the old one, it may not work properly or could be unsafe. Always check the equipment manual or the old cable’s markings to ensure the replacement cable is compatible. If you are unsure, consult a professional or the cable manufacturer.
- Loose Connections: Loose connections can cause intermittent equipment failure, overheating, or electrical arcing. If the equipment is not working after cable replacement, check all terminals and connectors to ensure they are tight. Use a screwdriver to retighten any loose terminal screws.
- Short Circuits: A short circuit occurs when two or more wires come into contact with each other. This can be caused by stripped insulation, loose wires, or incorrect wiring. If you detect a short circuit (e.g., the circuit breaker trips immediately), shut off the power and inspect the cable for damaged insulation or crossed wires. Repair or replace the affected section of the cable.
- Difficult Cable Routing: In some industrial equipment, the cable route may be complex or hard to access. Use flexible tools, such as cable fish tapes, to help route the new cable through tight spaces. If necessary, remove any non-essential components temporarily to gain better access, but be sure to reinstall them correctly afterward.
Post-Replacement Maintenance for Machine Cables
To extend the lifespan of the new machine cable in industrial equipment and prevent future failures, regular maintenance is essential. Here are some maintenance tips:
- Regular Inspections: Schedule periodic inspections of the machine cable to check for signs of wear, fraying, corrosion, or damage. Inspect the terminals and connectors for tightness and corrosion. Look for any changes in the cable’s appearance, such as discoloration (which may indicate overheating) or bulging insulation.
- Cleaning: Keep the machine cable and its surrounding area clean. Remove any dust, debris, or chemical residues that could accumulate on the cable and cause damage. Use a dry cloth or a mild cleaning solution (if approved by the cable manufacturer) to clean the cable.
- Protect the Cable: Ensure the cable is properly secured and protected from external hazards. Replace any damaged cable ties, brackets, or grommets. If the cable is exposed to extreme temperatures, chemicals, or mechanical stress, consider using additional protective measures, such as cable sleeves or conduit.
- Monitor Performance: Keep track of the equipment’s performance after the cable replacement. Any sudden changes in performance, such as increased downtime or error messages, could indicate a problem with the cable. Address these issues promptly to avoid further damage.
Why Choose FRS for Your Machine Cable in Industrial Equipment Needs
When it comes to replacing a machine cable in industrial equipment, the quality of the replacement cable is paramount. A high-quality cable ensures reliable performance, long lifespan, and safety in industrial environments. That’s where FRS comes in. FRS is a leading manufacturer of machine cables for industrial equipment, dedicated to providing top-notch products that meet the rigorous demands of modern industry.
At FRS, we understand that every industrial application is unique, which is why we offer a wide range of machine cables with various specifications, including different gauges, insulation materials (such as PVC, XLPE, and silicone), conductor types, and voltage/current ratings. Our cables are designed to withstand extreme temperatures, vibration, chemical exposure, and mechanical wear, ensuring they perform consistently even in the harshest industrial conditions. We adhere to strict quality control standards throughout the manufacturing process, from raw material selection to final testing, so you can trust that every FRS machine cable is of the highest quality.
In addition to our high-quality products, FRS provides exceptional customer service. Our team of experts is available to help you select the right machine cable for your specific industrial equipment, ensuring compatibility and optimal performance. We also offer fast delivery times to minimize equipment downtime, so you can get your operations back up and running quickly. Whether you need a standard cable or a custom solution, FRS has the expertise and resources to meet your needs.
When you choose FRS for your machine cable in industrial equipment needs, you’re not just buying a cable—you’re investing in reliability, safety, and peace of mind. Trust FRS to keep your industrial equipment running smoothly with our premium machine cables. Contact us today to learn more about our products and how we can support your business.


