How to Check for Wear and Tear on Machine Cable
Machine cables are the lifelines of industrial equipment, responsible for transmitting power, signals, and data that keep operations running smoothly. Over time, however, these cables can suffer from wear and tear due to constant use, environmental factors, and mechanical stress. Ignoring signs of damage can lead to equipment breakdowns, production delays, safety hazards, and costly repairs. Regular inspections to check for wear and tear are therefore essential for maintaining the reliability and safety of your machinery. In this guide, we will walk you through the step-by-step process of checking machine cables for wear and tear, helping you identify potential issues before they escalate.
1. Visual Inspection: The First Line of Defense
A thorough visual inspection is the simplest and most effective way to detect early signs of wear and tear on machine cables. This should be done regularly, ideally as part of your routine maintenance schedule. Here’s what to look for:
The outer insulation of a cable is designed to protect the internal conductors from moisture, dust, chemicals, and physical damage. Check for:
- Cracks, splits, or cuts: These can occur due to friction against sharp edges, repeated bending, or exposure to extreme temperatures. Even small cracks can allow moisture or contaminants to seep in, leading to short circuits or corrosion.
- Fraying or peeling: This is often caused by abrasion from contact with other machinery, moving parts, or rough surfaces. Frayed insulation exposes the underlying conductors, increasing the risk of electrical shocks or short circuits.
- Discoloration: Heat, chemical exposure, or UV radiation can cause the insulation to change color (e.g., yellowing, darkening). Discoloration may indicate overheating, which can degrade the insulation’s integrity over time.
- Bulges or deformities: These could be a sign of internal damage, such as conductor displacement or moisture buildup. Bulges may also indicate that the cable has been crushed or subjected to excessive pressure.
- Conductor Exposure
If the outer insulation is severely damaged, you may notice exposed conductors. These are typically made of copper or aluminum and appear as shiny, metallic strands. Exposed conductors are extremely dangerous, as they can cause electrical arcing, fires, or electric shocks. Any sign of exposed conductors requires immediate attention.
- Connector and Terminal Damage
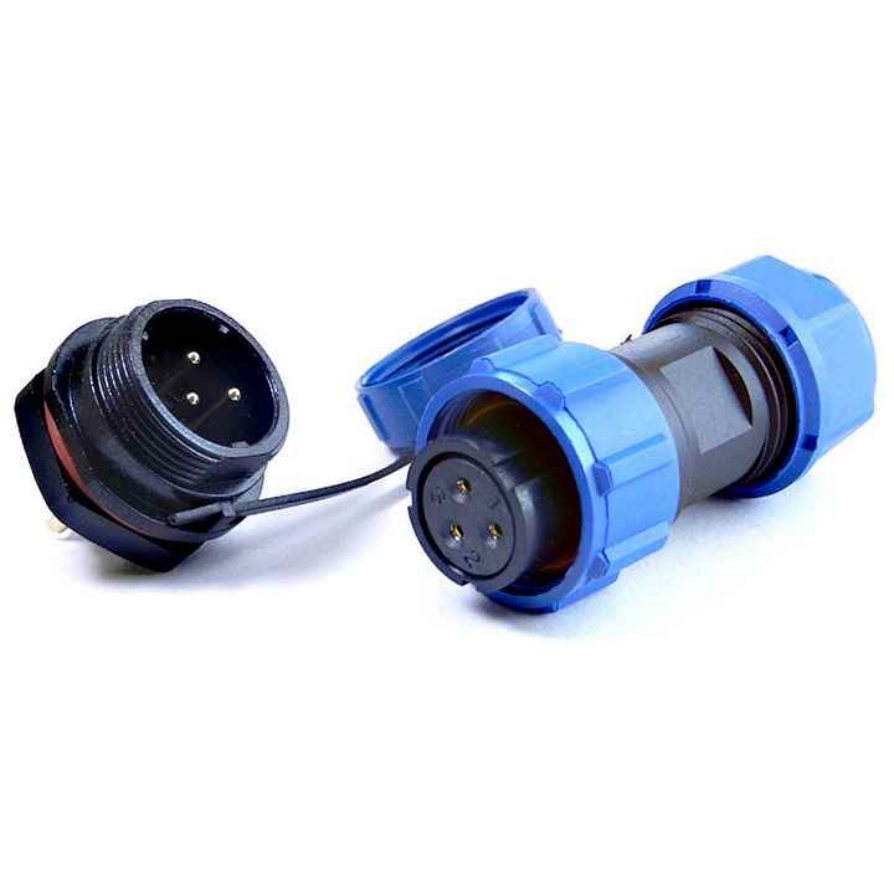
Cables are often connected to machinery via connectors, terminals, or plugs. Check these components for:
- Rust or corrosion: This is common in humid or industrial environments with high levels of moisture or chemicals. Corrosion can disrupt the electrical connection, leading to poor performance or intermittent failures.
- Loose or broken pins/contact points: Vibrations from machinery can cause connectors to loosen over time. Broken pins or bent contact points can prevent proper electrical flow, resulting in equipment malfunctions.
- Burn marks or melting: These indicate excessive heat at the connection point, which may be caused by loose connections, overloading, or short circuits. Burn marks are a critical red flag and require immediate investigation.
- Bending and Flexing Issues
Cables that are repeatedly bent or flexed (e.g., in robotic arms, conveyor systems, or moving machinery) are prone to fatigue. Check areas where the cable bends regularly for:
- Kinks: A kink is a sharp bend that can damage the internal conductors and insulation. Kinks restrict the flow of electricity and can lead to overheating.
- Stress relief failures: Many cables have stress relief boots (flexible sleeves) at connection points to reduce strain during bending. If these boots are cracked, missing, or worn, the cable is more vulnerable to damage at the bend points.
- Environmental Damage
Take note of the cable’s surrounding environment, as this can accelerate wear and tear:
- Chemical exposure: If the cable is near oils, solvents, or other chemicals, check for signs of swelling, softening, or degradation of the insulation. Chemicals can break down the insulation material over time.
- Moisture or water damage: Look for mold, mildew, or water stains on the cable, which may indicate exposure to leaks or high humidity. Moisture can cause corrosion of conductors and insulation breakdown.
- Physical debris: Cables in dirty or dusty environments may accumulate debris, which can abrade the insulation over time. Check for trapped dirt, metal shavings, or other particles that could cause damage.
2. Physical Inspection: Feeling for Irregularities
In addition to visual checks, a physical inspection can help you detect issues that may not be visible to the naked eye. Always ensure the machinery is powered off and the cable is disconnected before performing a physical inspection to avoid electric shock.
- Feeling for Hard Spots or Lumps
Run your hand along the length of the cable to feel for hard spots, lumps, or inconsistencies in texture. These can indicate:
- Internal conductor damage: If the conductors inside the cable are broken or crushed, they may form a hard lump under the insulation.
- Moisture buildup: Water or moisture trapped inside the cable can create a stiff or uneven section, especially in cold environments where it may freeze.
- Foreign objects: Debris or small particles that have penetrated the insulation can cause hard spots and further damage.
- Checking Flexibility
Gently bend the cable (within its recommended flexibility range) to check for stiffness or brittleness. A healthy cable should bend smoothly without resistance. Stiffness may indicate that the insulation has degraded (e.g., due to age or heat exposure), while brittleness suggests the material has become fragile and prone to cracking.
- Testing Tension and Movement
For cables that are part of moving machinery, check how they move during operation (with the equipment powered off, if possible). Ensure there is no excessive tension, stretching, or rubbing against other components. Cables that are pulled too tightly or rub against sharp edges will wear out much faster.
3. Electrical Testing: Verifying Performance
Even if a cable appears undamaged visually or physically, it may still have internal issues that affect its electrical performance. Electrical testing helps identify hidden problems such as conductor breaks, insulation breakdown, or short circuits.
- Insulation Resistance Test
This test measures how well the cable’s insulation resists the flow of electricity. A megohmmeter (megger) is used to apply a high voltage (typically 500V or 1000V) to the conductor while the other conductors and the cable shield are grounded. A low resistance reading indicates insulation breakdown, which can lead to leaks or short circuits.
- For most industrial cables, a minimum insulation resistance of 1 megohm (1MΩ) is recommended, though some applications may require higher values.
- A significant drop in resistance compared to previous tests (e.g., from 10MΩ to 0.5MΩ) is a sign of insulation degradation.
- Continuity Test
A continuity test checks if the conductors inside the cable are intact and properly connected. Using a multimeter set to the continuity function, you can test whether electrical current flows through the cable from one end to the other.
- A beep or low resistance reading indicates good continuity (the conductor is intact).
- No beep or a high resistance reading suggests a broken conductor (open circuit), which will prevent the cable from transmitting power or signals.
- Dielectric Withstand Test (Hi-Pot Test)
This test is more rigorous than the insulation resistance test and is used to identify weaknesses in the insulation. It involves applying a higher voltage (above the cable’s rated voltage) for a specified period (usually 1–5 minutes) to check for breakdown. If the insulation fails, current will leak, indicating a potential short circuit risk.
- This test is often performed on new cables or after repairs, but it can also be used during maintenance to assess the condition of older cables.
- Note: The hi-pot test should be performed with caution, as it can damage already weakened insulation if not done properly.
- Ground Fault Test
For cables that are grounded (e.g., power cables), a ground fault test checks for unintended current flow to the ground. A ground fault can occur if the insulation is damaged, allowing current to leak to the cable shield or surrounding metal. This test is critical for safety, as ground faults can cause electric shocks or fires.
4. Environmental and Operational Factors to Consider
Wear and tear on machine cables is often accelerated by specific environmental or operational conditions. When inspecting cables, take note of these factors to assess their impact:
Cables exposed to high temperatures (e.g., near furnaces, motors, or heat-generating equipment) can experience insulation degradation. Conversely, extreme cold can make insulation brittle. Check if the cable is rated for the temperature range of its environment.
Machinery that vibrates heavily (e.g., pumps, compressors, or industrial robots) can cause cables to rub against surfaces or loosen connections over time. Vibration can also lead to internal conductor fatigue, especially in cables with moving parts.
- Cable Routing and Installation
Poorly routed cables—those that are too tight, kinked, or forced into sharp bends—are more likely to wear out. Ensure cables are installed according to manufacturer guidelines, with adequate slack and protection from friction.
Cables in frequently used equipment (e.g., daily operation) will naturally wear faster than those in occasional-use machinery. Adjust your inspection schedule accordingly, with more frequent checks for high-use cables.
5. Documenting and Addressing Issues
Once you’ve completed your inspection, it’s important to document your findings. Create a checklist or log that includes:
- The date of the inspection
- The cable’s location and purpose (e.g., “Robot arm power cable, Line 3”)
- Specific issues identified (e.g., “Cracked insulation near connector”)
- Test results (e.g., “Insulation resistance: 2MΩ, within acceptable range”)
Based on your findings, take appropriate action:
- Minor damage: For small cracks or fraying, apply electrical tape or heat-shrink tubing as a temporary fix. Monitor the area closely for further deterioration.
- Significant damage: If conductors are exposed, insulation is severely degraded, or electrical tests show failures, replace the cable immediately. Using a damaged cable poses serious safety risks and can damage machinery.
- Preventive measures: Address the root cause of wear (e.g., adjust cable routing to reduce friction, install cable protectors, or relocate cables away from heat sources) to prevent future damage.
Conclusion: Trust FRS for Durable, Reliable Machine Cables
Regularly checking for wear and tear on machine cables is crucial for maintaining operational efficiency and safety. By following the steps outlined in this guide—from visual and physical inspections to electrical testing—you can identify issues early and take proactive steps to address them. However, even the most rigorous maintenance can’t compensate for low-quality cables. That’s where FRS comes in.
At FRS, we specialize in manufacturing high-performance machine cables designed to withstand the harshest industrial environments. Our cables are crafted with premium materials, including durable insulation that resists heat, chemicals, and abrasion, and robust conductors that ensure reliable electrical transmission. Whether you need cables for robotics, conveyor systems, or heavy machinery, FRS delivers products engineered for longevity and safety.
With FRS cables, you can minimize the risk of wear and tear, reduce maintenance costs, and keep your operations running smoothly. Trust FRS to be your partner in industrial reliability—because when it comes to your machinery, only the best will do.


