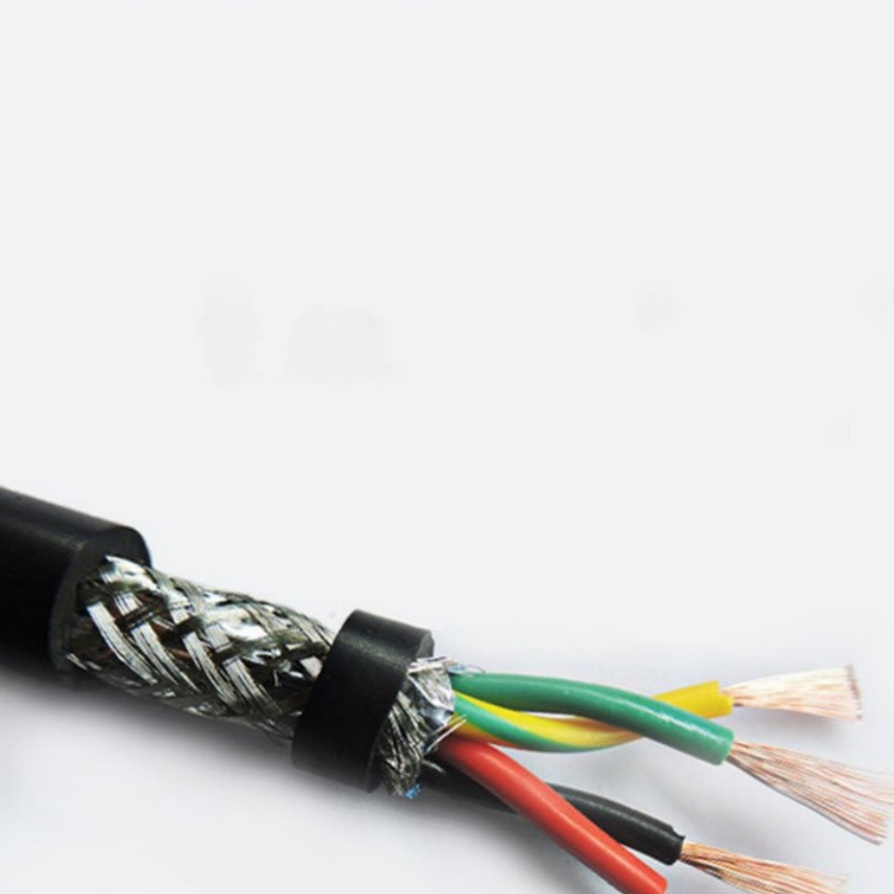
How to Install Machine Cable in a Tight Space?
Installing machine cable is foundational to industrial equipment performance, but tight spaces—such as compact machinery enclosures, narrow cabinetry, or gaps between densely packed components—turn this routine task into a logistical challenge. Limited visibility, restricted movement, and the risk of damaging cables or adjacent parts can lead to costly delays or equipment failure. However, with strategic preparation, a methodical approach, and the right tools, you can successfully install machine cable in confined areas while upholding safety, efficiency, and long-term reliability. This guide breaks down every critical step, from pre-installation checks to post-installation testing, to help you master machine cable installation in tight spaces.
1. Pre-Installation Preparation: Set the Stage for Success
Before touching any cable, thorough preparation eliminates errors and reduces frustration—especially in tight spaces where correcting mistakes is time-consuming. Focus on gathering specialized tools, selecting suitable materials, and prioritizing safety.
1.1 Gather Tools Designed for Tight Spaces
Standard, bulky tools will not work in confined areas. Invest in compact, precision tools to streamline install machine cable tasks:
- Miniature Wire Strippers: These slim tools have narrow jaws to reach tight gaps, removing insulation without nicking copper conductors. Look for adjustable depth settings to match different cable gauges.
- Compact Crimping Tools: A slim-profile crimping tool applies consistent pressure for terminating connectors (e.g., spade terminals) in limited space, ensuring secure connections.
- Magnetic Pickup Tool: Small parts (screws, wire clippings) often fall into hard-to-reach areas. An extendable magnetic wand retrieves these items without disassembling more components.
- LED Inspection Light: Tight spaces lack adequate lighting—use a flexible-neck LED light to illuminate dark corners, preventing misalignment or accidental damage.
- Fiberglass Fish Tape: For routing cable through narrow channels, this lightweight tool guides the cable without getting stuck, avoiding kinks or tangles.
- Compact Cable Cutter: A sharp, small cutter makes clean cuts through thick-insulated machine cables, preventing frayed wires that hinder termination.
1.2 Choose the Right Machine Cable & Materials
Not all machine cables are suited for tight spaces. Selecting the correct type simplifies installation and boosts durability:
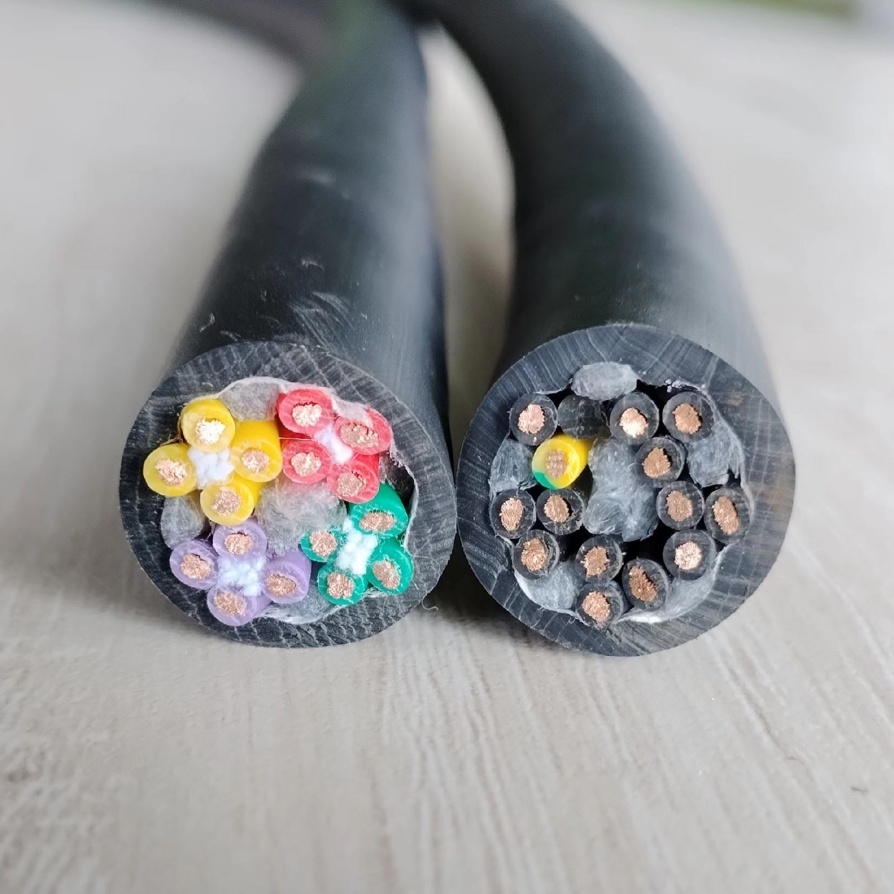
- Flexible Machine Cable: Opt for stranded conductors (not solid) with PVC or polyurethane insulation. These cables bend and twist without cracking, ideal for navigating tight bends.
- Flame-Retardant/Oil-Resistant Cables: Industrial tight spaces often expose cables to heat, oils, or chemicals. These cables resist degradation, ensuring long-term performance.
- Custom-Length Cables: Measure twice, cut once—excess cable clutters tight spaces. Pre-cut or custom-length cables eliminate waste and tangles.
Supporting materials are equally critical:
- Mini Cable Ties: 3–4 inch ties secure small cable bundles without bulk, avoiding overcrowding.
- Adhesive Cable Clips: These stick to flat surfaces (metal/plastic) without drilling, routing cables neatly in confined areas.
- Heat-Shrink Tubing: Insulates terminated connections, protecting against dust and short circuits in tight spaces.
- Connector Covers: Plastic covers shield exposed connectors from debris, maintaining reliable connectivity.
1.3 Prioritize Safety Checks
Safety is non-negotiable when installing machine cable in tight spaces:
- Disconnect Power: Turn off equipment power and use a voltage tester to confirm no current flows—even low voltage risks injury in confined areas.
- Clear the Workspace: Remove debris, sharp edges, or loose parts that could damage cables or harm you. Lock moving components (gears, belts) to prevent accidental activation.
- Wear Protective Gear: Gloves shield against sharp edges; safety goggles protect eyes from debris. Use a dust mask if ventilation is poor.
- Inspect Cables: Check for cracked insulation, frayed conductors, or bent connectors—damaged cables cause short circuits and must be replaced.
2. Step-by-Step Guide to Install Machine Cable in Tight Spaces
With preparation complete, follow this structured process to ensure a smooth installation.
2.1 Map the Wiring Path
In tight spaces, every inch counts. Mapping the path prevents rework:
- Mark Entry/Exit Points: Use tape to label where the cable enters (power source) and exits (machine component).
- Trace the Route: Use a thin tool (screwdriver) to trace the path, avoiding high-temperature parts (motors) or moving components. Note obstacles (bolts, pipes) to navigate around.
- Measure Precisely: Use a tape measure to calculate the path length, adding 2–3 inches for bends. Mark the cable with a marker to avoid cutting too short.
2.2 Prepare the Cable
Prepping ends before routing simplifies termination in tight spaces:
- Strip Insulation: Use miniature strippers to remove ½–¾ inch of insulation—avoid nicking conductors, as this causes poor connectivity.
- Tin Conductors (Optional): For stranded wires, lightly tin ends with solder to hold strands together, making termination easier in confined areas.
- Attach Connectors: Crimp or solder connectors (if needed) before routing—this avoids maneuvering tools in tight spaces later.
2.3 Route the Cable
Routing is the most challenging step. Take your time to avoid damage:
- Start with One End: Feed one cable end into the entry point, guiding it along the mapped path. For narrow channels, use fish tape:
- Insert fish tape through the entry point to the exit.
- Secure the cable end to the tape with electrical tape.
- Pull the tape back slowly, dragging the cable through—avoid over-bending (follow the manufacturer’s minimum bend radius, typically 5–10x the cable diameter).
- Route One Cable at a Time: Multiple cables tangle easily—install one at a time, using a helper to hold routed cables out of the way if possible.
2.4 Secure the Cable
Loose cables rub against components, causing shorts or blockages. Secure them properly:
- Use Mini Cable Ties: Bundle 2–3 cables per tie, tightening just enough to hold them—over-tightening damages insulation. Trim excess tie tails.
- Apply Adhesive Clips: Space clips 30–50 cm apart along the path, pressing cables into place. Use flexible-base clips for uneven surfaces.
- Avoid Drilling: Drilling risks hitting hidden components—use existing mounting points or adhesive clips instead.
2.5 Terminate & Connect
Precision is key here—tight spaces leave little room for error:
- Align with Terminals: Position the stripped cable end against the terminal (screw block/connector). Use a small screwdriver to loosen the screw, insert the conductor, and tighten firmly. Ensure no stray strands are exposed (they cause shorts).
- Insulate Connections: Cover terminations with heat-shrink tubing (use a small heat gun) or electrical tape, fully protecting exposed conductors.
2.6 Test the Installation
Testing confirms safety and functionality:
- Check Continuity: Use a multimeter to test for breaks—if it beeps, the cable is continuous. Test for shorts by checking resistance between positive/negative conductors (no continuity = no short).
- Test Equipment: Turn on power and run a test cycle. Unusual noises or errors indicate installation issues.
- Inspect for Damage: After testing, turn off power and check for melted insulation or loose connections—address issues immediately.
3. Pro Tips for Extra-Tight Spaces
For extremely confined areas (e.g., small motor housings), these tips simplify install machine cable tasks:
- Use Ultra-Flexible Cables: High-strand-count cables (labeled “high-flex”) bend to 3x their diameter, navigating tiny gaps.
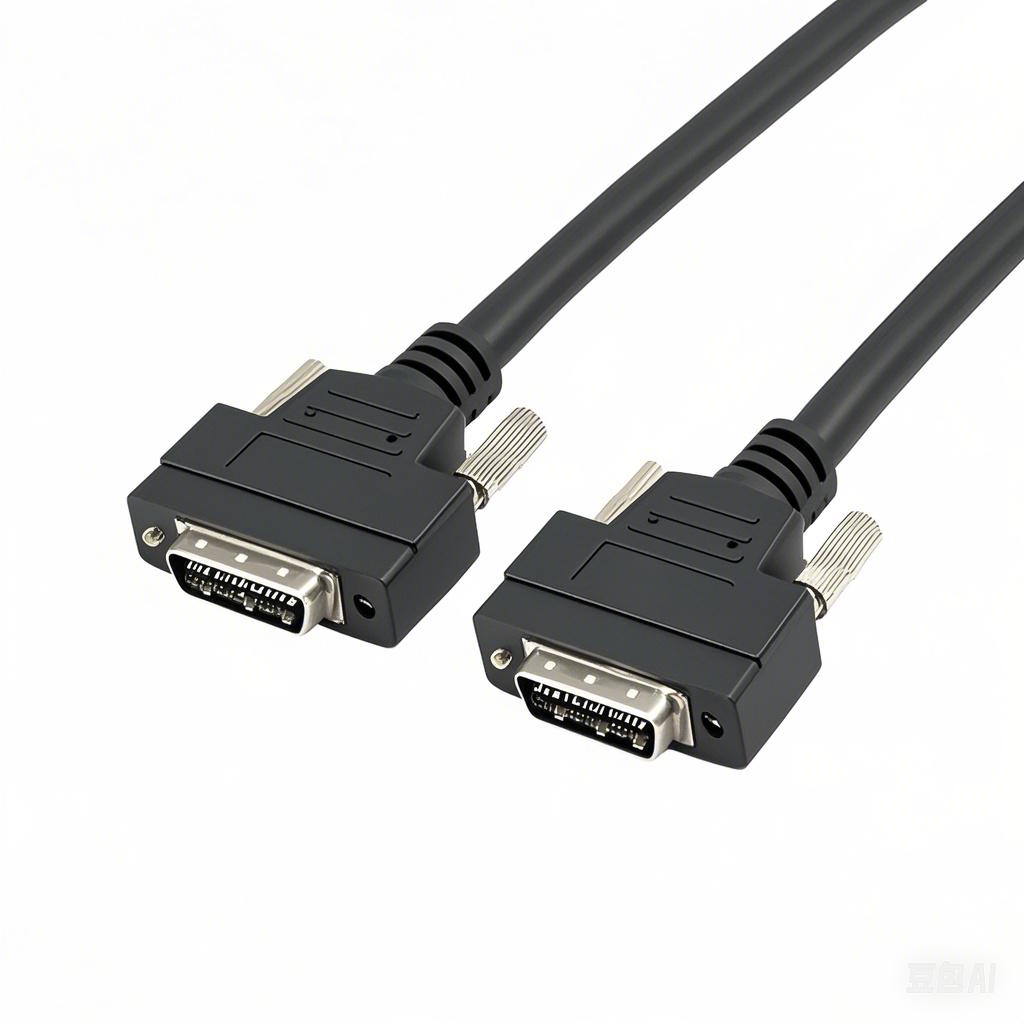
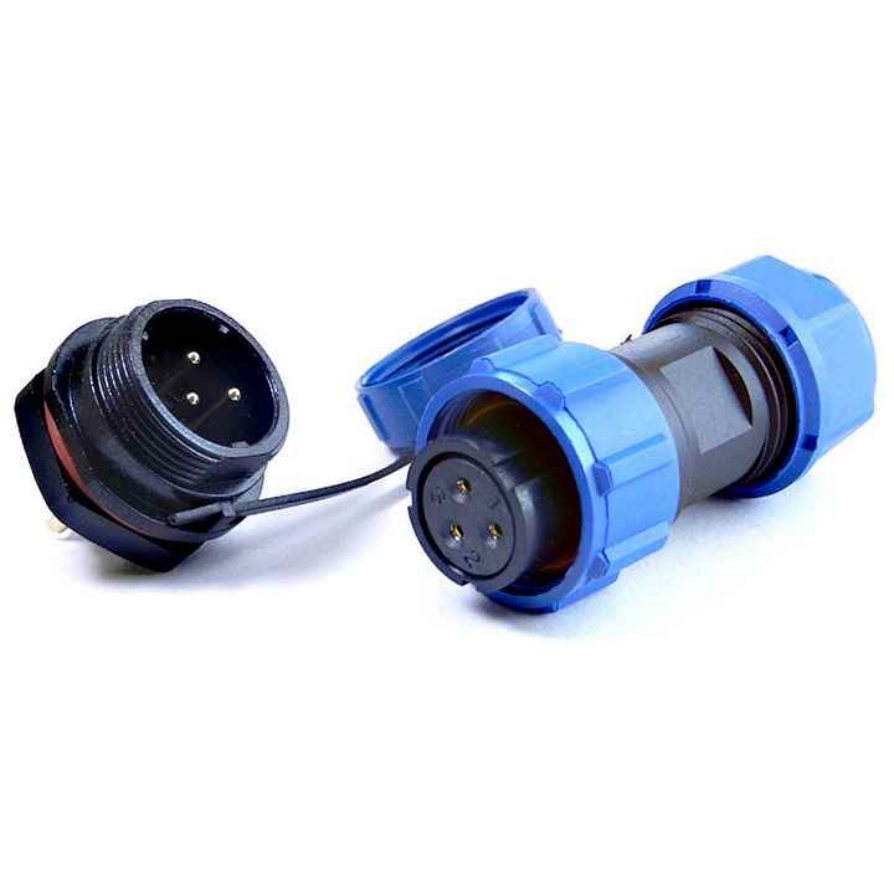
- Opt for Pre-Terminated Cables: These come with pre-installed connectors (M8/M12), eliminating on-site crimping/soldering in tight spaces.
- Vacuum Debris: A small, narrow-nozzle vacuum removes insulation clippings or screws, preventing shorts.
- Temporarily Disassemble Components: Remove non-critical parts (plastic covers) to create space—document disassembly with photos for easy reassembly.
- Work with a Helper: One person feeds the cable, while the other pulls it—reducing kinks and stuck cables.
4. Troubleshooting Common Issues
Even with preparation, problems arise. Here’s how to fix them:
- Cable Gets Stuck: Stop pulling—use the LED light to find the obstacle, back the cable up, and adjust the path.
- Cable Too Short: Do not stretch it—remove the cable, measure again (add extra length), and reinstall a new cable.
- Poor Connectivity: Check terminations for loose screws or stray strands. Test the cable separately—replace if faulty.
- Cable Vibrates Loose: Add more clips/ties (space 20–30 cm apart) or use locking ties to resist vibration.
5. Choose FRS for Seamless Machine Cable Installation
When installing machine cable in tight spaces, the right products make all the difference—and FRS delivers. As a leading industrial machine cable manufacturer, FRS engineers solutions tailored to confined-space challenges, ensuring your installation is safe, efficient, and long-lasting.
FRS machine cables are built for tight spaces: our ultra-flexible, high-strand-count cables (PVC/polyurethane insulation) bend to minimal radii without breaking, while flame-retardant/oil-resistant designs withstand harsh industrial conditions. We offer custom pre-terminated cables (M8/M12 connectors, custom lengths) to skip on-site termination, saving time in tight areas.
Complementing our cables, FRS provides compact tools—miniature strippers, crimpers, and magnetic pickup tools—designed for precision in confined spaces. Our technical team offers expert support, from path mapping to troubleshooting, ensuring you overcome any install machine cable challenge.
For reliable, high-performance cables and tools that simplify tight-space installations, choose FRS. We don’t just supply products—we partner with you to keep your equipment running smoothly, now and for years to come.


