How to Install Machine Vision Cables in Industrial Automation Systems: A Step-by-Step Guide - machinevision cable factory&Suppliers, we provide customized processing of products to ensure your satisfaction.-【FRS】

Best

machinevision cable factory

How to Install Machine Vision Cables in Industrial Automation Systems...

Machine vision systems are the watchful eyes of modern factories – essential for quality control, robot guidance, and process validation. However, their effectiveness hinges on one often underestimated element: the installation of the ​machine vision cables that carry critical power and data signals. Improper installation can lead to intermittent faults, costly downtime, degraded image quality, or permanent component damage.

This comprehensive guide details the essential steps and best practices for installing machine vision cabling within industrial automation environments, ensuring robust, reliable performance.

Understanding Machine Vision Cable Types

Before installation, identify the cable types involved, as their requirements differ:

  1. Power Cables: Supply power to cameras, lights, controllers. Typically thicker gauge wires.
  2. Data Cables:
    • Camera Cables (Coax/RG-type): Carry analog video signals (e.g., for older systems using composite video).
    • Ethernet Cables:
      • Standard Ethernet (Cat5e/Cat6/Cat6a): Carry commands and compressed/less demanding digital video (e.g., some webcam-type sensors, data to controllers).
      • Industrial Ethernet (e.g., Profinet, EtherNet/IP compatible): Designed for harsh environments, offering better shielding and robustness.
    • CoaXPress Cables: RG-style coax cables designed for ultra-high-speed digital video transmission over longer distances.
    • Optical Cables (Fiber Optics): Used for extremely long distances or high-bandwidth applications (like multi-camera setups or very high-resolution cameras). Immune to electrical noise.
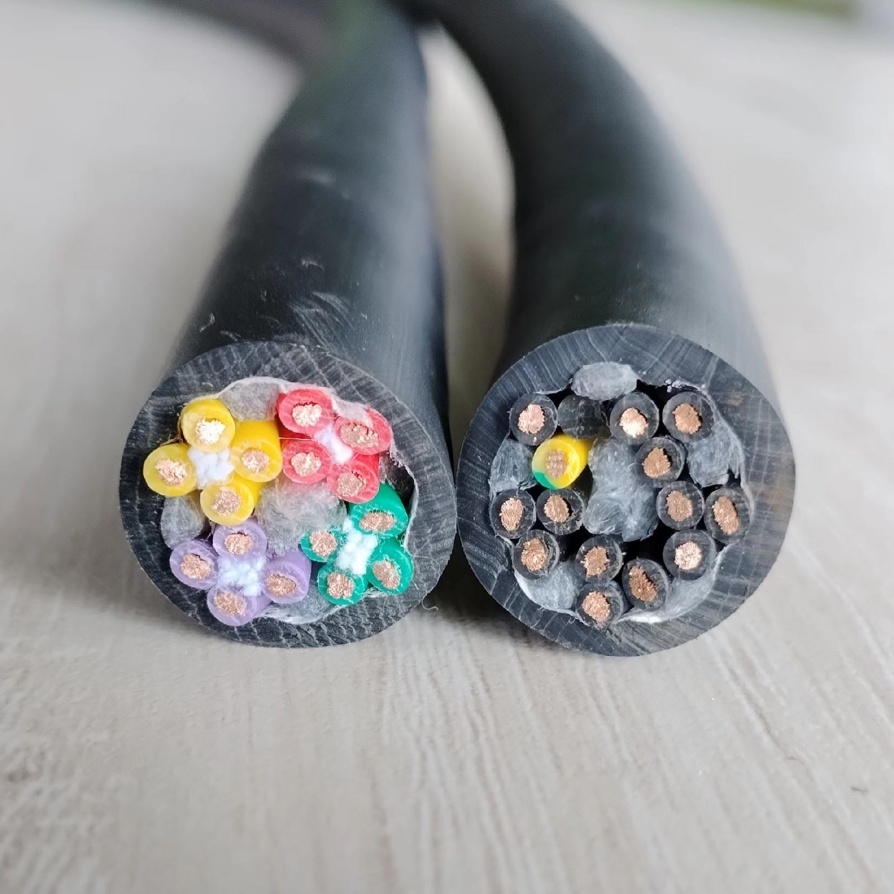
    • Hybrid Cables: Combine power, data, and sometimes I/O wires in a single jacket for simplified routing.
    • I/O Trigger Cables: Connect sensors or PLC outputs to the vision system to trigger image acquisition.

Essential Tools & Materials

  • Appropriate cable types with sufficient length + slack
  • Cable ties (nylon, releasable) & cable tie mounts
  • Cable clamps (various sizes, types)
  • Cable conduit (flexible like Panduit, or rigid metal conduit as required)
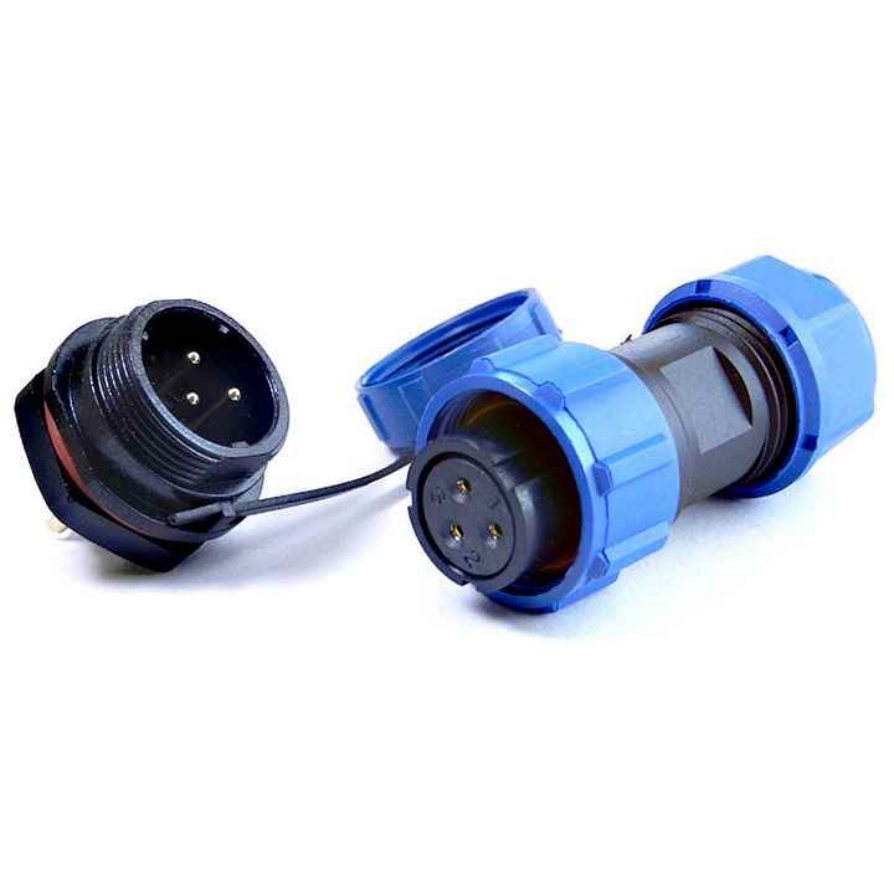
  • Cable glands/IP-rated connectors (e.g., M8, M12)
  • Wire strippers & cutters
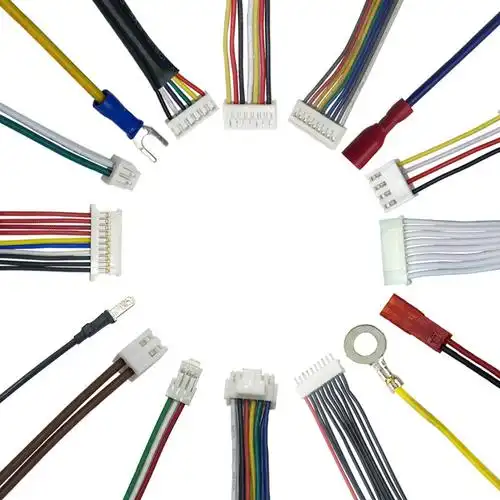
  • Crimping tool for connectors (if needed)
  • Cable labeling machine/tags
  • Cable markers or tape
  • Continuity tester / Multimeter
  • Cable pull tools / fish tapes
  • Cable lubricant (for long or congested conduit runs)
  • Torque screwdriver (for connector terminations if specified)
  • ESD strap (when handling sensitive components)

Step-by-Step Installation Procedure

  1. Review Documentation & Plan:
    • Study: Carefully examine the machine vision system manuals, electrical schematics, cable specifications (especially bend radius and shielding requirements), and layout drawings.
    • Route Planning: Map the physical cable paths from the vision controller/PC to cameras, lights, sensors, and PLCs. Choose routes that:
      • Avoid moving parts (robots, actuators).
      • Stay clear of high-heat sources (motors, ovens).
      • Minimize proximity to power cables (especially high-current drives) – maintain minimum 6-12 inch separation where possible.
      • Avoid pinch points, sharp edges, or high-traffic areas.
      • Utilize existing cable management structures (trays, ladders, raceways).
    • Length & Slack: Allow sufficient cable length for smooth routing, termination, and future service access. Include generous service loops (typically 30-50cm extra) near termination points. Remember the ​minimum bend radius (often 8-10x cable diameter) – exceeding this damages internal conductors and shielding.
    • Conduit/Duct Use: Decide where conduit is necessary for mechanical protection. Use flexible conduit where vibration is present. Avoid overfilling conduit (max 40-50% fill is a common rule of thumb).
    • Labeling Strategy: Plan cable labels for both ends of every cable.
  2. Prepare the Installation Site:
    • Power Down: Ensure the entire work area is LOCKED OUT / TAGGED OUT (LOTO) before starting. Verify with a multimeter.
    • Identify Points: Mark routing paths, conduit entry/exit points, and device mounting locations clearly.
    • Install Support Structures: Mount cable trays, ladder racks, clamps, and tie points according to your plan.
    • Install Conduit: Run conduit as planned, ensuring secure connections. Deburr conduit ends. Use appropriate couplings and fittings.
  3. Run the Cables:
    • Careful Handling: Avoid twisting, kinking, or excessive pulling force.
    • Pulling Technique:
      • Use cable pulling lubricant inside conduit.
      • Maintain gentle, steady tension. Use pull ropes/fish tapes to avoid direct force on the cable connectors.
      • Ensure the cable bend radius is respected at every turn.
      • Pull cables simultaneously within a shared conduit route whenever practical to reduce friction.
    • Separation: If data cables must cross power cables, do so at a ​90-degree angle to minimize inductive coupling. Maintain separation within cable bundles – ideally, run power and data in separate conduits or on opposite sides of a wide tray.
    • Service Loops: Secure cables, but leave planned service loops neatly coiled near devices and panels. Do not tighten cable ties excessively – they should be snug but not deform the cable jacket. Use releasable ties where future access is needed.
    • Shielding Integrity: Immediately repair any nicks or cuts in the cable shielding layers. Protect connectors from dirt/damage.
  4. Termination & Connection:
    • ESD Precautions: Wear an ESD strap grounded to the chassis/earth when handling vision controllers, cameras, and cards.
    • Strip Carefully: Use proper strippers to remove only the required outer jacket, avoiding damage to the inner conductors or shield. Fiber optic cables require specialized cleaving/splicing equipment – follow manufacturer guidelines meticulously.
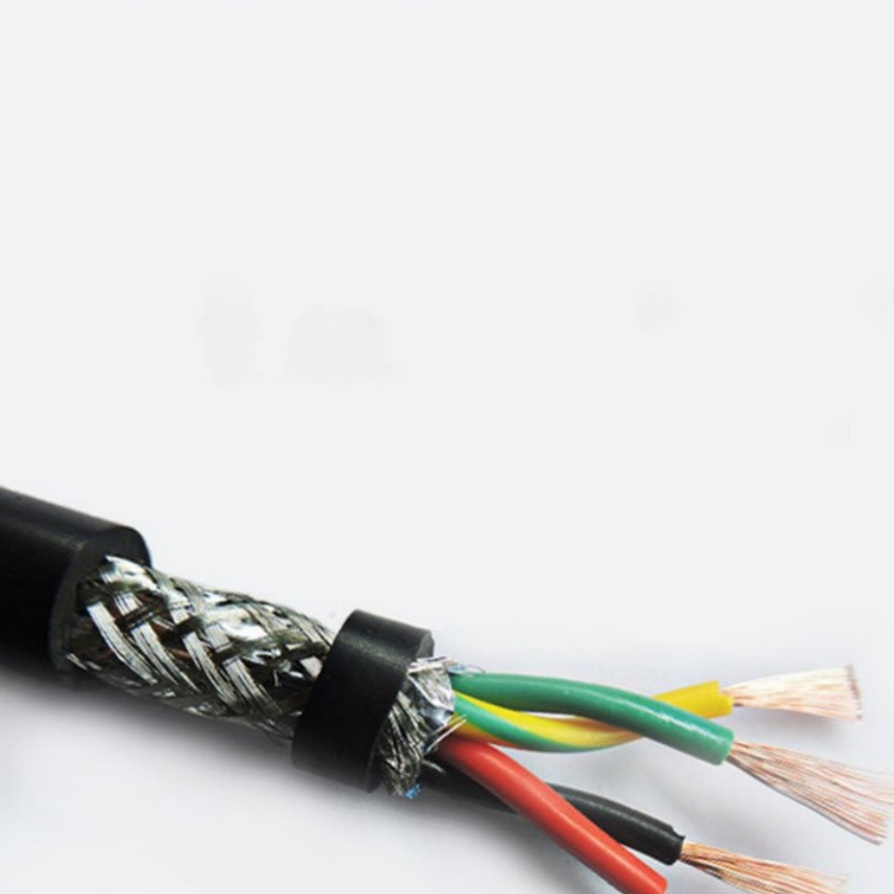
    • Grounding Shields: ​This is critical! Ensure cable shields are correctly terminated:
      • Often grounded to the connector shell or a designated ground point on the device/panel.
      • Achieve a clean, 360-degree connection around the shield braid/drain wire. Use shielded, metal-bodied connectors designed for this purpose.
      • Ground at one end only (typically the controller end for most vision systems) to prevent ground loops, unless the specific cable/system specifies otherwise.
    • Secure Connectors: Tighten connectors firmly using the specified torque (if given). For screw terminals (like on lighting power), ensure tight connections without damaging conductors.
    • Strain Relief: Utilize cable glands or internal strain relief features within connectors or panels to prevent tugging on the electrical connections.
  5. Labeling & Documentation:
    • Label Clearly: Apply durable, easily readable labels to both ends of every cable. Include at least Cable ID/Number and Destination (e.g., “CAM1 PWR”, “CAM1 DATA”, “PLC Trig OUT”).
    • Verify Accuracy: Double-check that labels correspond correctly to both ends.
    • Update Drawings: Record as-installed cable routings and labels on the system schematics and layout drawings. This is invaluable for future troubleshooting and modifications.
  6. Testing & Verification:
    • Continuity: Before powering up, verify continuity and the absence of short circuits on all conductors using a multimeter.
    • Shield Continuity: Verify shield connection between connector shells at the termination points.
    • Power Up Sequence: Following LOTO removal procedures, power up the system gradually.
    • Functional Check:
      • Verify power is present at cameras/lights.
      • Confirm communication between the vision controller and cameras/sensors.
      • Trigger the vision system manually and/or during a test cycle.
      • Inspect acquired images for ​image quality issues (noise, artifacts, blackouts, jitter) which can indicate signal integrity problems like EMI interference or cable damage.
      • Monitor for intermittent faults.
    • Ground Loop Check: Listen for audio hum (if applicable to audio feeds) or look for rolling bars on video – potential signs of ground loops needing shield ground adjustments.

Critical Best Practices & Troubleshooting Tips

  • Prioritize Shielding: Buy quality shielded cables designed for industrial automation. Ensure termination maintains shield effectiveness. Never leave shields unconnected.
  • EMI Mitigation: Separation from noise sources is primary. When unavoidable, use:
    • Shielded or double-shielded cables.
    • Ferrite cores/chokes near connectors on suspect cables.
    • Differential signaling protocols (common in industrial Ethernet and CoaXPress) which are inherently more noise-resistant.
  • Bend Radius Awareness: Exceeding this is a common cause of premature failure. Use guides or brackets to maintain curvature.
  • Vibration Protection: Use flexible conduit, strain relief, and clamps rated for vibration environments. Avoid rigid clamping on fragile spots.
  • Environmental Protection: Ensure connectors have the appropriate ​IP rating (e.g., IP67 for washdown areas) using correct gaskets, sealing washers, and properly tightened cable glands. Seal unused conduit entries.
  • Accessibility: Design for maintainability. Service loops and releasable ties make repair/replacement vastly easier.
  • Quality Components: Use industrial-grade cables and connectors from reputable manufacturers (e.g., Belden, L-com, Turck, SICK, Pepperl+Fuchs).
  • Troubleshooting Common Issues:
    • No Image/Connection: Verify power, continuity, network settings, switch ports. Check for swapped pairs in Ethernet cables. Inspect connectors for bent pins.
    • Image Noise/Artifacts/Intermittency: Strong indicators of EMI/RFI interference or a poor/shield ground. Increase separation from noise sources. Verify shield termination. Try adding ferrites. Check for damaged cable segments.
    • Physical Damage: Inspect cables along routes for pinch points or abrasion. Re-run in conduit or relocate away from hazards.

More machinevision cable related Products

3D Scanner Vision Signal Cable

Subtitle: A High-Performance Signal Cable Designed for 3D Scanners, Ensuring Lossless Data and Minimal Latency ​Product OverviewThe ​3D Scanner Vision Signal Cable is a premium signal transmission cable engineered for both industrial a.

More information
MACHINEVISION CABLE PRODUCTS

‌Product Overview: Machine Vision Cables‌ Machine vision cables are specialized components designed to ensure high-speed, stable data transmission and signal integrity in automated imaging systems. Key features include: ‌Technical S.

More information
IP67 Waterproof Vision Connection Cable – Reliable Connectivity...

Elevate your visual data transmission with the ​IP67 Waterproof Vision Connection Cable, engineered to deliver seamless performance in the harshest conditions. Designed for industrial, outdoor, and mission-critical applications, this rugg.

More information
Flexible & Bend-Resistant Vision Cable | High-Performance Imaging...

Meta Description: Discover the Flexible & Bend-Resistant Vision Cable, engineered for precision imaging in demanding environments. Durable, reliable, and built to last. Perfect for industrial, medical, and robotic applications. Int.

More information
Shielded Twisted-Pair Vision Cable

Shielded Twisted-Pair Vision Cable – Ultra-Clear Signal Transmission for Demanding Environments Ensure flawless video and data transmission in high-interference environments with our ​Shielded Twisted-Pair (STP) Vision Cable. Engineere.

More information
Robotic Vision System Cable

Meta Description: Discover premium Robotic Vision System Cables engineered for seamless data transmission, durability, and precision in industrial automation. Ensure flawless vision system performance. Enhance Automation Precision with.

More information
Precision Imaging Dedicated Vision Cable

The ​Precision Imaging Dedicated Vision Cable is a cutting-edge connectivity solution designed to deliver crystal-clear image transmission in high-stakes environments. Optimized for industrial automation, medical imaging, machine vision, .

More information
Industrial-Grade Machine Vision Cable

Enhance the reliability and performance of your automated systems with our ​Industrial-Grade Machine Vision Cable—engineered to deliver unparalleled signal integrity, durability, and speed for demanding industrial applications. Designed f.

More information
High-Speed Anti-Interference Vision Cable: Ultimate Clarity for Deman...

Meta Description: Experience seamless 4K/8K video transmission with our High-Speed Anti-Interference Vision Cable. Engineered for crystal-clear visuals, robust durability, and interference-free performance. Perfect for gaming, profes.

More information
Top 5 Machine Vision Cables Solving Critical Challenges in High-Speed...

High-speed factories demand flawless synchronization between machines and vision systems. Yet, challenges like electromagnetic interference (EMI), cable fatigue, and data bottlenecks often disrupt operations. The right ‌machine vision cab.

More information