How to Repair a Cut in Machine Cable? - machinevision cable factory&Suppliers, we provide customized processing of products to ensure your satisfaction.-【FRS】

Best

machinevision cable factory

How to Repair a Cut in Machine Cable?

Machine cables are the lifeline of industrial equipment, responsible for transmitting power and control signals. A cut—whether caused by mechanical wear, accidental impact, or environmental damage—can trigger unplanned downtime, equipment malfunctions, or even electrical hazards like short circuits. For maintenance teams and factory operators, mastering proper repair techniques is key to minimizing losses and ensuring workplace safety. Below is a step-by-step guide to fixing a cut machine cable, plus critical tips for long-term reliability.

1. Gather the Right Tools First

Before starting repairs, assemble tools that balance precision and safety. Using improper tools (e.g., regular scissors for stripping) can damage conductors or compromise insulation:

  • Insulated Wire Stripper: Choose a model with adjustable gauge settings to remove outer sheaths and inner conductor insulation without nicking copper wires.
  • Heat-Shrink Tubing: Select tubing 1.5–2 times the diameter of the cable (e.g., 8mm tubing for a 5mm cable) . Opt for adhesive-lined tubing if the cable is used in damp or dusty environments (it seals out moisture).
  • Crimping Tool (Optional): Necessary for high-current cables (10A+). Use terminal lugs with the tool to create secure, low-resistance connections.
  • Multimeter: Set to AC/DC voltage and continuity modes to verify power cutoff and test repairs.
  • Safety Gear: Insulated gloves (rated for 1000V+), safety glasses, and non-conductive footwear—never skip these when working with electrical components.
  • Auxiliary Supplies: Fine-grit sandpaper (to clean oxidized copper), flame-retardant electrical tape, and cable ties (for post-repair securing).

2. Prioritize Safety: Cut Power & Inspect

Safety is non-negotiable. Even a “dead” cable can hold residual charge:

  1. Disconnect Power: Locate the equipment’s main circuit breaker or power switch and turn it off. Lock the switch if possible to prevent accidental reactivation.
  2. Verify Power Loss: Use the multimeter’s AC voltage setting (for power cables) or DC setting (for control cables). Touch the probes to the cable’s exposed ends—if the reading is 0V, power is fully cut.
  3. Assess the Damage: Check if the cut is partial (only outer sheath damaged) or complete (conductors severed). For partial cuts, trim 1–2 inches of the damaged sheath to inspect inner wires for hidden nicks.

3. Step-by-Step Repair Process

Step 1: Prep the Cable Ends

  • Use the insulated stripper to remove 1–1.5 inches of the outer sheath from both cut ends. Avoid applying excessive force—nicked conductors can overheat later.
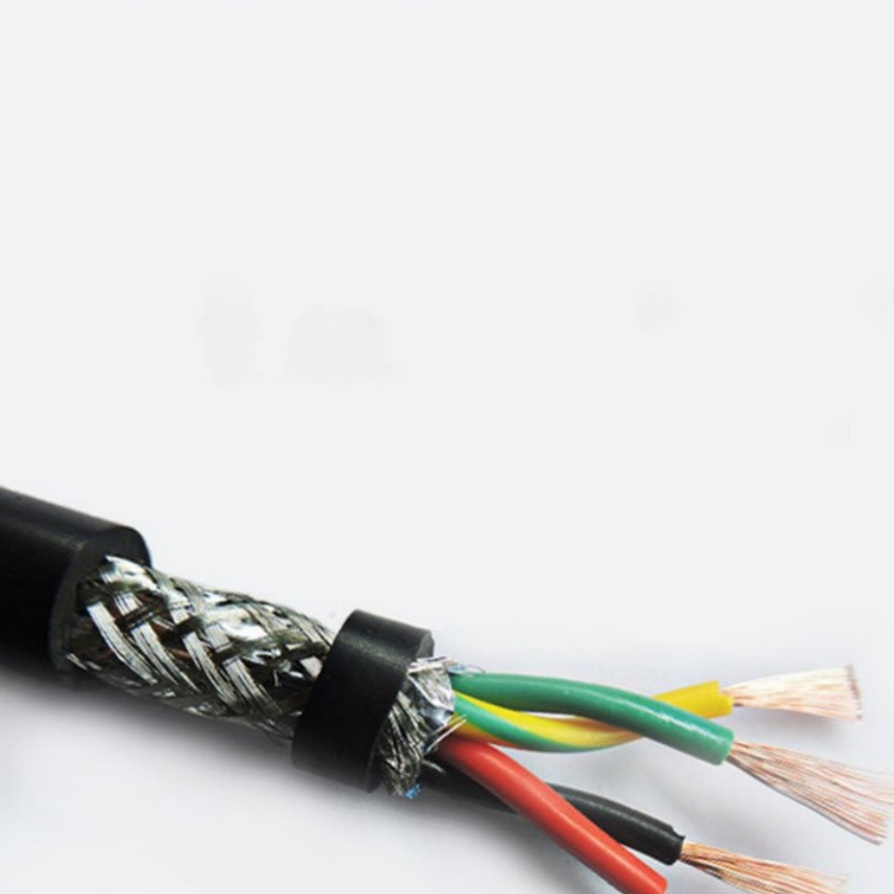
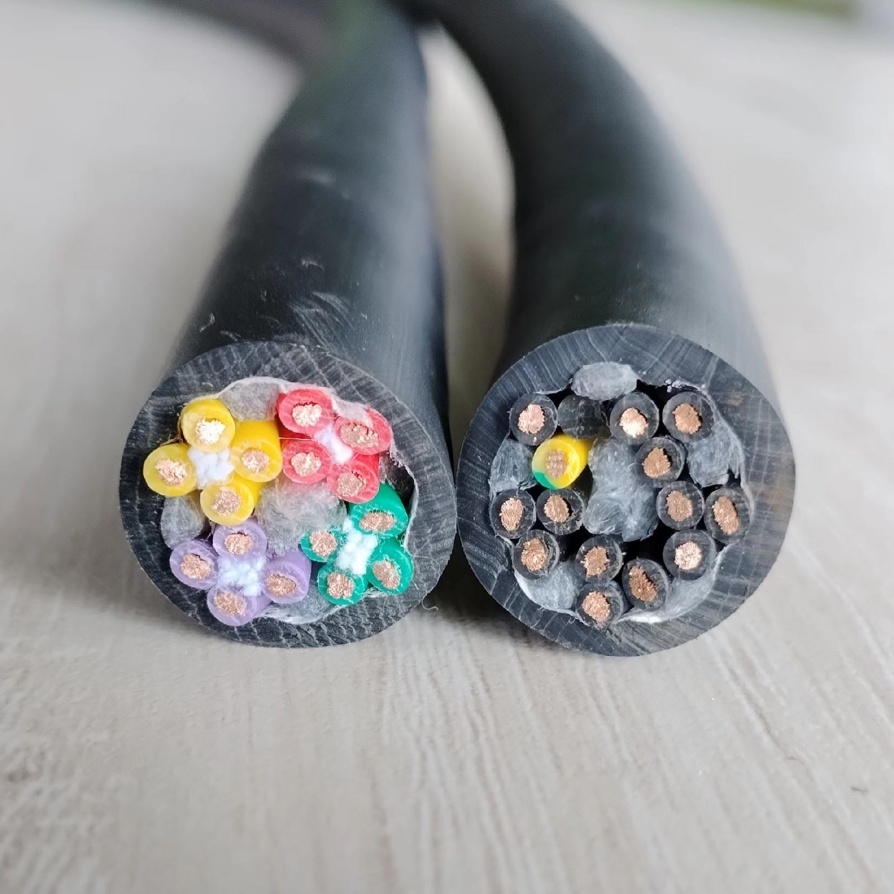
  • For multi-core cables (common in control systems), separate the colored inner wires (e.g., red for power, blue for signal) and strip 0.5 inches of insulation from each copper conductor.
  • Clean the copper ends with sandpaper to remove oxidation. Oxide layers reduce conductivity and cause connection overheating.

Step 2: Connect Conductors Securely

  • Single-Core Cables (Power Cables): Twist the cleaned copper ends clockwise until tight (3–4 twists). Ensure no loose strands—loose connections create arcing.
  • Multi-Core Cables: Match wires by color (e.g., white to white, black to black) and twist each pair individually. For high-current applications, slide a terminal lug over the twisted ends and crimp firmly with the crimping tool.

Step 3: Restore Insulation

  • Slide a piece of heat-shrink tubing over one cable end before connecting conductors (it’s impossible to slide over the joint later). Position the tubing so it covers 0.5 inches of undamaged insulation on both sides of the joint.
  • Heat the tubing evenly with a heat gun (low setting) or hair dryer (high heat). It will shrink to 50% of its original size, forming a tight, waterproof seal.
  • For extra protection (e.g., in high-vibration areas), wrap electrical tape around the tubing—overlap each layer by half the tape’s width to avoid gaps.

4. Test & Secure the Repaired Cable

  • Continuity Test: Use the multimeter’s continuity mode. Touch probes to each end of a conductor— a beep or “1” reading means the connection is intact. For multi-core cables, test every wire pair to avoid cross-connections.
  • Power Test: Turn the equipment’s power back on briefly. Use the multimeter to check if voltage/signals transmit correctly (e.g., 220V for power cables, 5V for control cables).
  • Secure the Cable: Use cable ties to fasten the repaired section to the machine. Avoid pulling or bending the joint—tension can loosen connections over time.

5. Tips for Special Scenarios

  • Wet/Outdoor Cables: Use waterproof heat-shrink tubing and apply a layer of silicone sealant around the joint.
  • Small-Gauge Control Cables: Twist conductors gently—thin copper strands break easily. Avoid crimping tools unless they have a micro-gauge setting.
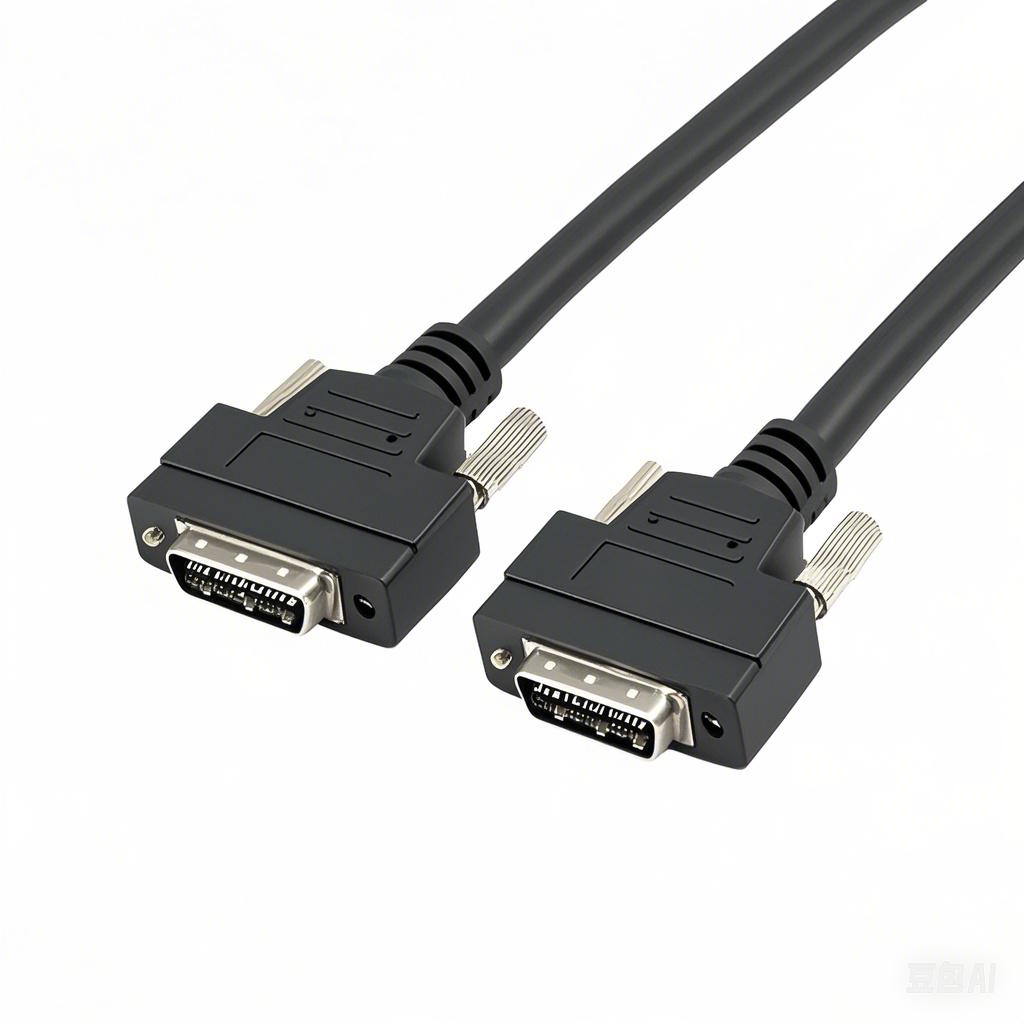
  • Cuts Near Connectors: If the cut is within 6 inches of a connector, replace the connector instead of repairing the joint. Connectors are often cheaper than fixing a fragile near-connector joint.

When it comes to machine cable repairs, reliable tools and durable components make all the difference. FRS Factory, a leading provider of industrial electrical solutions, offers everything you need for safe, long-lasting repairs—from insulated strippers and adhesive-lined heat-shrink tubing to OEM-grade replacement cables. Our products meet IEC and UL standards, ensuring compatibility with most industrial equipment. Whether you need repair kits for on-site fixes or expert guidance for complex cable issues, FRS Factory keeps your production line running without unnecessary delays. Trust FRS to keep your machines powered and your operations efficient.

More machinevision cable related Products

Top 5 Machine Vision Cables Solving Critical Challenges in High-Speed...

High-speed factories demand flawless synchronization between machines and vision systems. Yet, challenges like electromagnetic interference (EMI), cable fatigue, and data bottlenecks often disrupt operations. The right ‌machine vision cab.

More information
Industrial-Grade Machine Vision Cable

Enhance the reliability and performance of your automated systems with our ​Industrial-Grade Machine Vision Cable—engineered to deliver unparalleled signal integrity, durability, and speed for demanding industrial applications. Designed f.

More information
High-Speed Anti-Interference Vision Cable: Ultimate Clarity for Deman...

Meta Description: Experience seamless 4K/8K video transmission with our High-Speed Anti-Interference Vision Cable. Engineered for crystal-clear visuals, robust durability, and interference-free performance. Perfect for gaming, profes.

More information
Flexible & Bend-Resistant Vision Cable | High-Performance Imaging...

Meta Description: Discover the Flexible & Bend-Resistant Vision Cable, engineered for precision imaging in demanding environments. Durable, reliable, and built to last. Perfect for industrial, medical, and robotic applications. Int.

More information
Shielded Twisted-Pair Vision Cable

Shielded Twisted-Pair Vision Cable – Ultra-Clear Signal Transmission for Demanding Environments Ensure flawless video and data transmission in high-interference environments with our ​Shielded Twisted-Pair (STP) Vision Cable. Engineere.

More information
Precision Imaging Dedicated Vision Cable

The ​Precision Imaging Dedicated Vision Cable is a cutting-edge connectivity solution designed to deliver crystal-clear image transmission in high-stakes environments. Optimized for industrial automation, medical imaging, machine vision, .

More information
Robotic Vision System Cable

Meta Description: Discover premium Robotic Vision System Cables engineered for seamless data transmission, durability, and precision in industrial automation. Ensure flawless vision system performance. Enhance Automation Precision with.

More information
IP67 Waterproof Vision Connection Cable – Reliable Connectivity...

Elevate your visual data transmission with the ​IP67 Waterproof Vision Connection Cable, engineered to deliver seamless performance in the harshest conditions. Designed for industrial, outdoor, and mission-critical applications, this rugg.

More information
MACHINEVISION CABLE PRODUCTS

‌Product Overview: Machine Vision Cables‌ Machine vision cables are specialized components designed to ensure high-speed, stable data transmission and signal integrity in automated imaging systems. Key features include: ‌Technical S.

More information
3D Scanner Vision Signal Cable

Subtitle: A High-Performance Signal Cable Designed for 3D Scanners, Ensuring Lossless Data and Minimal Latency ​Product OverviewThe ​3D Scanner Vision Signal Cable is a premium signal transmission cable engineered for both industrial a.

More information