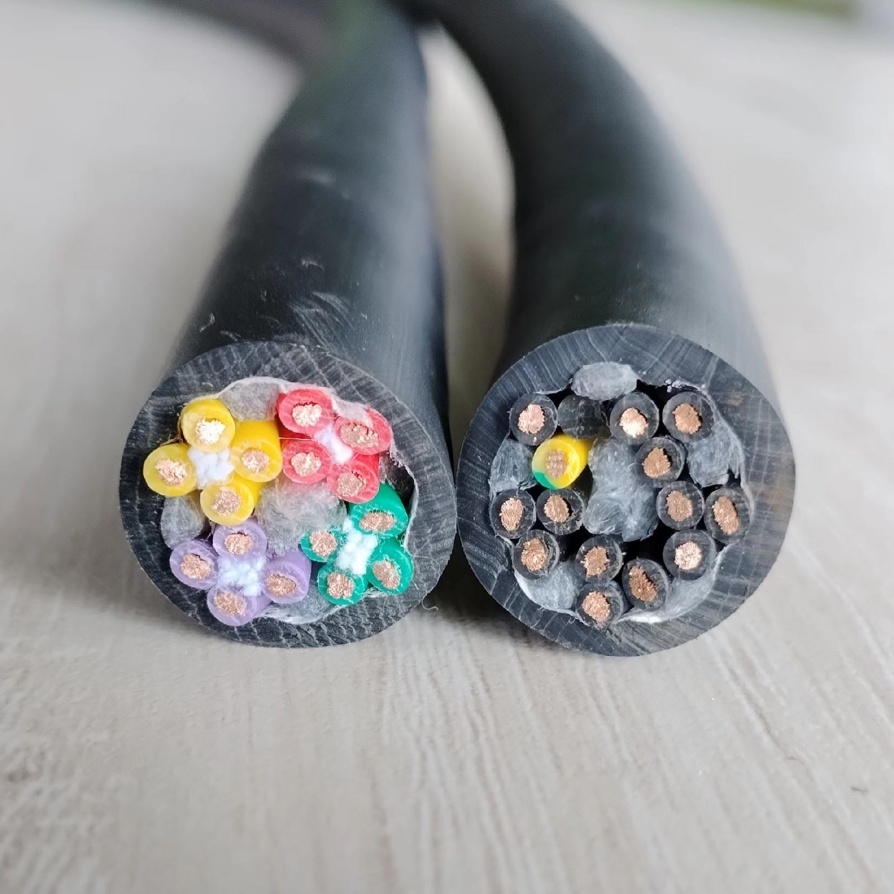
How to Test the Insulation Resistance of Machine Cable: A Complete Gu...
Machine cables are the lifeline of industrial operations—powering motors, connecting control systems, and transmitting critical signals across factories, warehouses, and manufacturing plants. Yet, one of the most overlooked risks to machine cable performance is degraded insulation. Over time, factors like moisture, temperature fluctuations, chemical exposure, and mechanical wear can weaken the insulation layer, leading to reduced insulation resistance. Low insulation resistance of machine cable not only causes equipment malfunctions, unplanned downtime, and costly repairs but also poses severe safety hazards, including electric shocks and fire risks.
That’s why regular testing of the insulation resistance of machine cable is non-negotiable for maintaining operational safety and efficiency. In this guide, we’ll break down everything you need to know: from understanding what insulation resistance is, to preparing for tests, following step-by-step procedures, troubleshooting common issues, and preserving insulation performance long-term. By the end, you’ll have the knowledge to conduct reliable tests and ensure your machine cables meet industry standards.
1. Understanding Insulation Resistance of Machine Cable
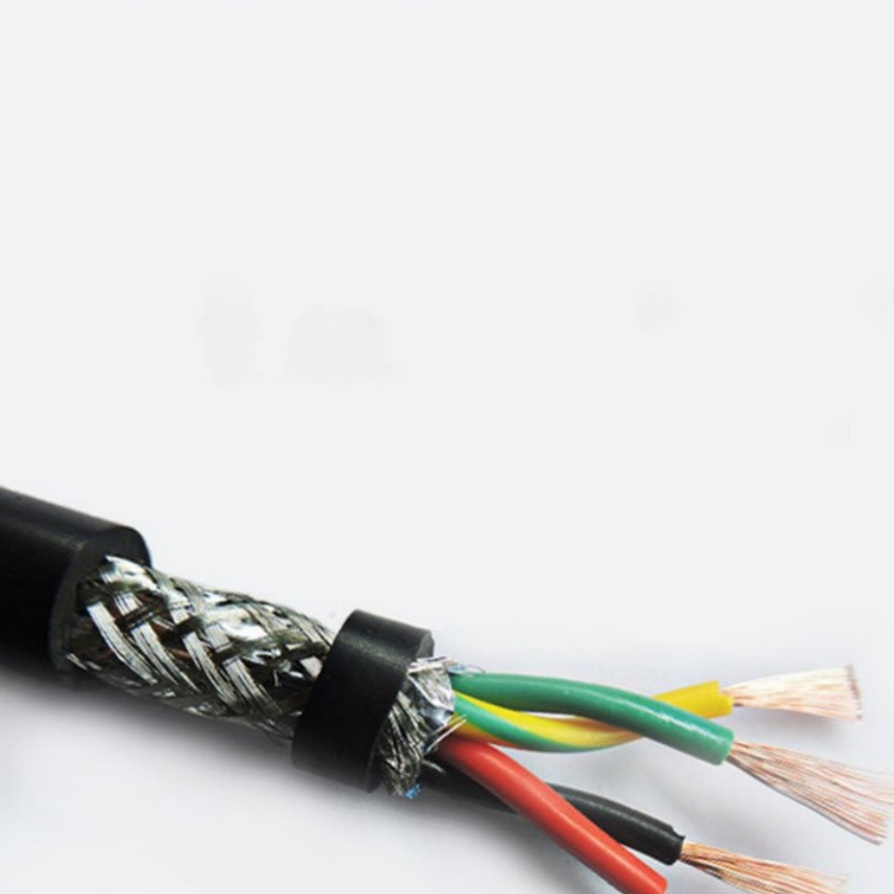
Before diving into testing, it’s critical to clarify what “insulation resistance of machine cable” means. Insulation resistance refers to the ability of a cable’s insulating material (e.g., PVC, XLPE, or rubber) to resist the flow of leakage current when an electrical voltage is applied. Unlike the cable’s conductive core (which is designed to carry current), the insulation layer must block unwanted current flow between the conductor and the cable’s outer sheath, or between adjacent conductors.
Measured in megohms (MΩ), insulation resistance is a direct indicator of the insulation’s integrity. Higher values mean better insulation performance:
- New machine cables typically have an insulation resistance of 100 MΩ or higher (per standards like IEC 60245 for flexible cables).
- For in-service cables, a minimum insulation resistance of 10 MΩ is generally acceptable, though stricter industries (e.g., food processing, pharmaceuticals) may require higher thresholds.
Key factors that affect insulation resistance of machine cable include:
- Moisture: Water or humidity penetrates insulation, creating conductive paths and lowering resistance.
- Temperature: High temperatures accelerate insulation aging; most tests are calibrated for 20–30°C (68–86°F) to ensure consistency.
- Contamination: Dust, oil, grease, or chemicals on the cable surface can cause surface leakage current.
- Aging: Over time, insulation hardens, cracks, or degrades, reducing its resistance.
2. Preparations Before Testing Insulation Resistance of Machine Cable
Testing the insulation resistance of machine cable requires careful preparation to ensure accuracy, safety, and compliance with industry norms. Skipping these steps can lead to misleading results or even electrical accidents. Here’s what you need to do:
2.1 Gather the Right Tools
The primary tool for insulation resistance testing is a megohmmeter (also called an insulation resistance tester or “megger”). Unlike a standard multimeter, a megohmmeter applies a high DC voltage (typically 500V, 1000V, or 2500V) to the cable to measure leakage current—and thus insulation resistance—over time. Choose a megohmmeter based on your cable’s voltage rating:
- Low-voltage machine cables (≤600V): Use a 500V megohmmeter.
- Medium-voltage machine cables (600V–10kV): Use a 1000V or 2500V megohmmeter.
Additional tools you’ll need:
- Insulated gloves and safety goggles: To protect against electric shock.
- Cleaning supplies: Lint-free cloths, isopropyl alcohol, or cable cleaner (to remove surface dirt, oil, or grease).
- Wrenches or screwdrivers: To disconnect the cable from equipment terminals.
- Multimeter: To confirm the cable is fully de-energized before testing.
- Test leads: Compatible with your megohmmeter (ensure they’re insulated and in good condition).
- Data log sheet: To record test parameters (date, time, temperature, humidity, cable ID, and readings).
2.2 Ensure Safety First
Machine cables often carry high voltages, so safety is paramount:
- De-energize the cable: Turn off all power sources (circuit breakers, switches) connected to the cable. Lockout/tagout (LOTO) the power source to prevent accidental reconnection.
- Verify no voltage: Use a multimeter to check both the conductor and the cable’s outer sheath for voltage. If any voltage is detected, recheck the power source and resolve the issue before proceeding.
- Isolate the cable: Disconnect the cable from all equipment (motors, controllers, junction boxes) to avoid interference from internal circuits. This ensures you’re testing the cable’s insulation alone, not the equipment’s.
- Check the environment: Avoid testing in wet, dusty, or explosive environments. If testing outdoors, use a shelter to protect the cable and tools from rain or snow.
2.3 Prepare the Cable
A dirty or damaged cable surface can skew test results by creating surface leakage current. Follow these steps:
- Clean the cable terminals: Use a lint-free cloth dipped in isopropyl alcohol to wipe the conductor terminals and the cable’s outer sheath. Remove any rust, oxidation, or grease.
- Inspect for physical damage: Check the cable for cracks, cuts, or bulges in the insulation. If damage is found, mark the area and test that section separately—severe damage may require cable replacement.
- Allow for temperature stabilization: If the cable has been exposed to extreme temperatures (e.g., near a heater or outdoors in cold weather), let it sit in the test environment for at least 2 hours to reach ambient temperature. Temperature variations can cause up to a 50% change in insulation resistance readings.
3. Step-by-Step Guide to Testing Insulation Resistance of Machine Cable
Once preparations are complete, follow this step-by-step process to test the insulation resistance of machine cable accurately. This method aligns with international standards like IEC 60502 (for power cables) and IEEE 400 (for cable testing).
Step 1: Calibrate the Megohmmeter
Before testing, calibrate your megohmmeter to ensure it’s accurate. Most modern megohmmeters have a self-calibration function:
- Turn on the megohmmeter and select the appropriate voltage (e.g., 500V for low-voltage cables).
- Connect the test leads to the “Line” (L) and “Earth” (E) terminals of the megohmmeter.
- Short the ends of the test leads together. The megohmmeter should read 0 Ω (or a very low value), confirming the leads are working.
- Disconnect the test leads and let them hang freely. The megohmmeter should read “infinite” (∞) resistance, confirming no leakage in the instrument itself.
If the megohmmeter fails calibration, do not use it—send it for professional servicing.
Step 2: Connect the Megohmmeter to the Cable
Proper 接线 (wiring) ensures you measure the correct insulation path:
- For single-core cables:
- Connect the megohmmeter’s “Line” (L) lead to the cable’s conductor (the metal core).
- Connect the “Earth” (E) lead to the cable’s outer sheath (or the metal armor, if present).
- If the cable has a semi-conductive layer (common in medium-voltage cables), connect the “Guard” (G) lead to this layer. The guard terminal eliminates surface leakage current, ensuring you measure only the insulation’s “volume resistance” (the true indicator of internal integrity).
- For multi-core cables:
- Test one conductor at a time. Connect the L lead to the conductor being tested.
- Connect the E lead to all other conductors (tied together) and the cable’s outer sheath.
- This tests the insulation between the active conductor and the other conductors/sheath—critical for preventing cross-conduction.
Step 3: Apply Voltage and Record Readings
Insulation resistance is not an instantaneous measurement—insulating materials absorb current over time, so you need to wait for the reading to stabilize:
- Turn on the megohmmeter to apply the selected voltage.
- Start a timer. Record the insulation resistance reading at 1 minute (per IEC standards). This is known as the “1-minute reading” and is the most widely accepted value for evaluating insulation performance.
- For more detailed analysis, you can also record readings at 10 seconds and 10 minutes. The ratio of the 10-minute reading to the 10-second reading (called the “polarization index”) indicates the insulation’s ability to resist moisture absorption. A polarization index >2 is considered good.
Step 4: Interpret the Results
Compare your readings to industry standards and the cable’s specifications:
- New cables: Insulation resistance should be ≥100 MΩ (500V test). If readings are lower, the cable may be defective (e.g., moisture in the insulation) and should be returned to the manufacturer.
- In-service cables: A minimum of 10 MΩ is acceptable for most applications. If readings drop below 5 MΩ, the cable is at high risk of failure—consider replacing it or conducting further tests (e.g., dielectric strength testing).
- Trend analysis: Track readings over time. A gradual decrease in insulation resistance (e.g., 20% drop over 6 months) indicates aging and means you should plan for cable replacement before a failure occurs.
Step 5: Discharge the Cable and Restore Power
After testing, the cable may retain a charge from the megohmmeter—this can cause electric shock if not discharged:
- Turn off the megohmmeter.
- Connect a discharge resistor (100 kΩ–1 MΩ) between the cable’s conductor and the sheath for 1–2 minutes to safely discharge the cable.
- Remove the test leads and reconnect the cable to the equipment (ensure all connections are tight to avoid overheating).
- Remove the LOTO lock and restore power to the cable.
4. Common Issues & Troubleshooting in Insulation Resistance Testing
Even with careful preparation, you may encounter issues that affect test results. Here are the most common problems and how to resolve them:
4.1 Low Insulation Resistance Readings
If your readings are lower than expected, possible causes include:
- Moisture in insulation: Check for water damage (e.g., wet terminals, corroded conductors). Dry the cable with a heat gun (set to low temperature) and retest. If readings remain low, the insulation may be permanently damaged.
- Surface contamination: Even small amounts of oil or dust can cause surface leakage. Clean the cable terminals and sheath with isopropyl alcohol, then retest.
- Loose connections: Ensure the megohmmeter leads are tightly connected to the cable. Loose leads can create high resistance, leading to false low readings.
- Equipment interference: If the cable wasn’t fully disconnected from equipment, the equipment’s internal circuits may be skewing results. Re-isolate the cable and retest.
4.2 Unstable or Fluctuating Readings
Fluctuating readings often stem from:
- Megohmmeter malfunction: Calibrate the instrument again. If readings are still unstable, the megohmmeter may need repair.
- Environmental changes: Sudden temperature or humidity spikes (e.g., opening a door to a cold warehouse) can affect insulation resistance. Stabilize the environment and retest.
- Cable movement: If the cable is being moved during testing, the test leads may lose contact. Secure the cable and leads before retesting.
4.3 “Infinite” Resistance Readings
An infinite reading (∞) usually means the cable is in excellent condition—but it can also indicate a problem:
- Open circuit in test leads: Check if the test leads are broken or disconnected. Replace the leads if necessary.
- Incorrect voltage selection: Using a voltage that’s too low for the cable (e.g., 500V for a 10kV cable) may not generate enough leakage current to register a reading. Switch to a higher voltage and retest.
5. Daily Maintenance Tips to Preserve Insulation Resistance of Machine Cable
Testing is critical, but proactive maintenance can extend the life of your machine cables and keep their insulation resistance high. Here are key practices:
- Regular inspections: Check cables monthly for physical damage (cracks, cuts), loose connections, or signs of overheating (discolored insulation).
- Control the environment: Keep cables away from water, chemicals, and extreme temperatures. Use cable trays or conduits to protect cables from mechanical damage.
- Avoid overbending: Machine cables have a minimum bend radius (typically 5–10 times the cable diameter). Bending beyond this can crack the insulation.
- Schedule preventive testing: Test new cables before installation, and in-service cables every 6–12 months (or every 3 months in harsh environments like foundries or wastewater plants).
- Replace aging cables: If insulation resistance readings drop consistently over time, replace the cable before it fails. Aging cables are a leading cause of unplanned downtime.
6. Why Choose FRS for Your Machine Cable Needs: Quality Backed by Rigorous Testing
When it comes to machine cables, the reliability of insulation resistance starts with the manufacturer. At FRS, we don’t just produce machine cables—we engineer them to meet the strictest insulation performance standards, ensuring your tests yield consistent, high-quality results every time.
Our state-of-the-art factory prioritizes insulation integrity at every stage of production:
- Premium insulation materials: We use industry-leading materials (XLPE, high-grade PVC, and heat-resistant rubber) that resist moisture, chemicals, and aging—materials that maintain high insulation resistance even in harsh industrial environments.
- 100% pre-shipment insulation testing: Every FRS machine cable undergoes a rigorous insulation resistance test before leaving our factory. We use calibrated, high-precision megohmmeters (500V–2500V) to ensure each cable meets or exceeds IEC, UL, and GB standards (with insulation resistance ≥100 MΩ for new cables).
- Customized solutions for your needs: Whether you need cables for low-voltage control systems, high-temperature motors, or wet environments (e.g., food processing), our engineering team designs cables with insulation tailored to your application—minimizing the risk of low insulation resistance and premature failure.
- Technical support for your tests: Beyond supplying cables, we offer guidance to help you conduct accurate insulation resistance tests. Our team can advise on megohmmeter selection, test procedures, and result interpretation—ensuring you get the most value from your FRS cables.
At FRS, we understand that your operations depend on cables you can trust. Our commitment to quality, rigorous testing, and customer support means you spend less time troubleshooting insulation issues and more time keeping your machines running. Choose FRS for machine cables that deliver consistent performance, safety, and long-term reliability.


