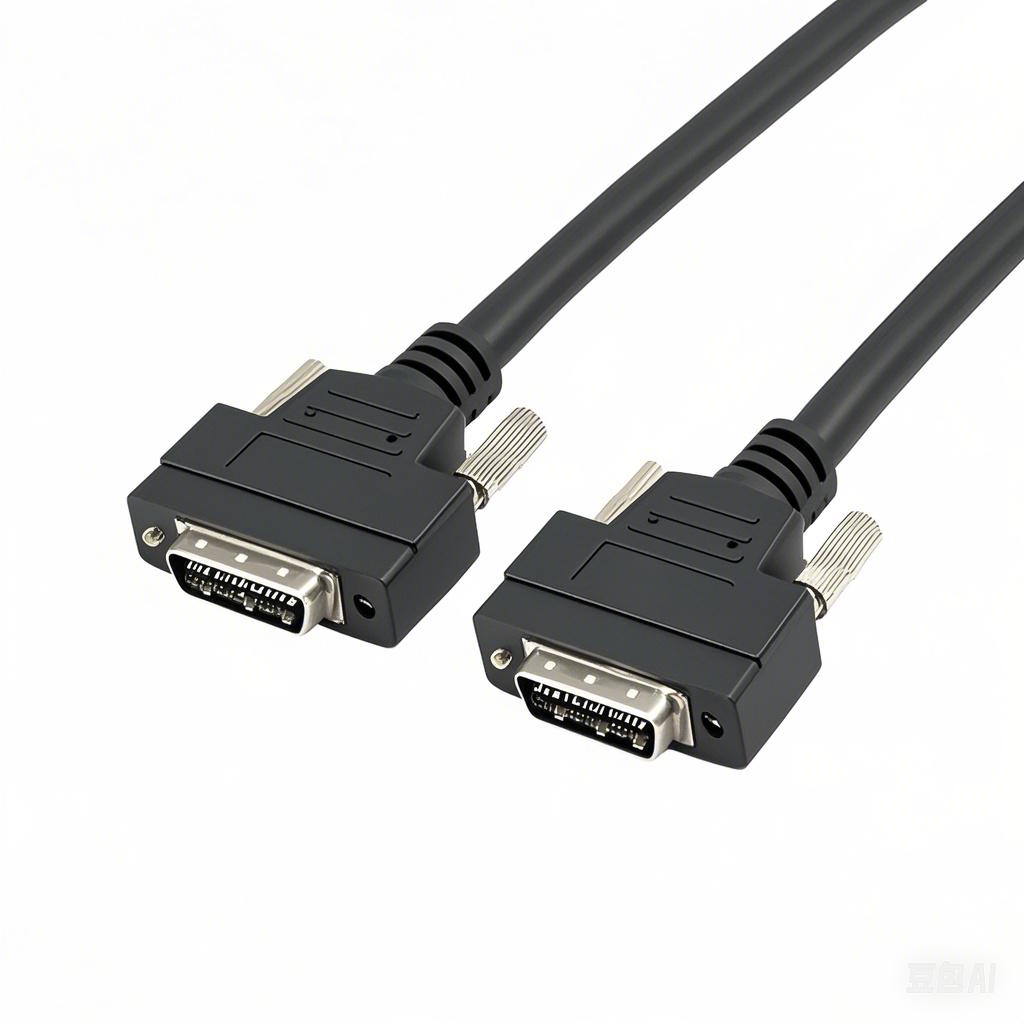
How to Troubleshoot Machine Cable Issues
Machine cables are the lifeline of industrial equipment, connecting power sources, control systems, and mechanical components to ensure smooth operation. When machine cable issues arise, they can lead to unexpected downtime, reduced productivity, and even costly equipment damage. Whether you’re a maintenance technician, factory operator, or equipment manager, knowing how to effectively troubleshoot these issues is critical to minimizing disruptions. This guide will walk you through identifying common symptoms, preparing for troubleshooting, executing step-by-step checks, and resolving problems—all while focusing on the core challenge of “machine cable issues” that keep operations running.
1. Common Symptoms of Machine Cable Issues
Before diving into troubleshooting, it’s essential to recognize the warning signs of machine cable issues. These symptoms often manifest as disruptions to equipment performance, and identifying them early can narrow down the root cause:
- Intermittent or Complete Power Loss: If your machine shuts off unexpectedly, fails to start, or experiences flickering power, the cable may have a broken conductor, loose connection, or insulation failure. For example, a frayed power cable in a conveyor system might cause the motor to stop and start randomly as the damaged wires make partial contact.
- Erratic Control Signals: For machines relying on data transmission (e.g., CNC machines, robotic arms), jittery movements, incorrect sensor readings, or unresponsive controls often point to issues with signal cables. A damaged Ethernet or RS-485 cable, for instance, can corrupt data between the control panel and the machine’s actuator, leading to imprecise operations.
- Overheating Cables or Connections: Touching cables or terminal blocks and feeling excessive heat is a clear red flag. Overheating typically stems from high resistance caused by loose connections, corroded terminals, or undersized cables (too thin to handle the machine’s current load). Left unaddressed, this can melt insulation and start electrical fires.
- Visible Physical Damage: Cracks, cuts, or bulges in the cable’s outer sheath are obvious signs of wear. In industrial settings, cables are often exposed to mechanical stress—like being crushed by heavy equipment, rubbed against sharp metal edges, or pulled during maintenance—which damages the protective layer and exposes internal wires to moisture or debris.
- Ground Fault Trips: If your facility’s circuit breaker or GFCI (Ground Fault Circuit Interrupter) trips repeatedly when the machine is in use, it may indicate a short circuit in the cable. A short occurs when a live wire comes into contact with a ground wire or the machine’s metal frame, creating an unsafe current flow.
2. Pre-Troubleshooting Preparation: Safety First & Tools You’ll Need
Troubleshooting machine cable issues involves working with electricity and industrial equipment, so safety must be your top priority. Skipping safety steps can result in electric shock, burns, or equipment damage. Follow these precautions before starting:
- Disconnect Power: Turn off the machine’s main power switch and lock it out (using a lockout-tagout, or LOTO, device) to prevent accidental energization. Verify power is off with a voltage tester—never assume a switch is enough.
- Wear Protective Gear: Put on insulated gloves (rated for the voltage you’re working with), safety glasses, and non-conductive shoes. If the area has oil, chemicals, or debris, add a lab coat or protective coveralls.
- Inspect the Work Area: Clear the space around the machine to avoid tripping hazards. Ensure proper lighting so you can see small cable damage or connection issues.
Once safety is secured, gather the tools you’ll need to diagnose and resolve machine cable issues. Having the right tools on hand saves time and ensures accurate testing:
- Voltage Tester/Multimeter: A digital multimeter (DMM) is essential for checking voltage, continuity (whether a cable is fully connected), and resistance (for identifying high-resistance connections). Look for a DMM with auto-ranging capabilities for ease of use.
- Insulation Resistance Tester (Megohmmeter): This tool measures the insulation quality of cables. A low insulation resistance reading indicates damage to the cable’s outer sheath, which can lead to shorts or ground faults.
- Cable Strippers & Crimpers: For repairing or replacing cables, you’ll need to strip the outer sheath (without damaging internal wires) and crimp new terminals onto the ends.
- Wire Brushes & Contact Cleaner: Corroded terminals or connectors are a common cause of machine cable issues. A wire brush removes rust, while electrical contact cleaner (avoiding water-based cleaners) dissolves oil and debris.
- Flashlight/Inspection Camera: Use a flashlight to check hard-to-reach areas (e.g., behind the machine or inside cable trays). For extremely tight spaces, an inspection camera (with a flexible probe) can reveal hidden damage.
3. Step-by-Step Troubleshooting Process for Machine Cable Issues
Now that you’re prepared, follow this systematic process to identify and resolve machine cable issues. This step-by-step approach avoids guesswork and ensures you address the root cause—not just the symptom.
Step 1: Inspect for Physical Damage
Physical damage is one of the most common causes of machine cable issues, so start here. Begin by examining the entire length of the cable, from the machine’s terminal block to the power source or control unit:
- Check the Outer Sheath: Look for cracks, cuts, abrasions, or bulges. Pay extra attention to areas where the cable bends (e.g., near hinges or moving parts) or comes into contact with other components—these are high-wear zones. For example, a cable on a packaging machine that rubs against a metal guide rail may develop a cut in the sheath over time.
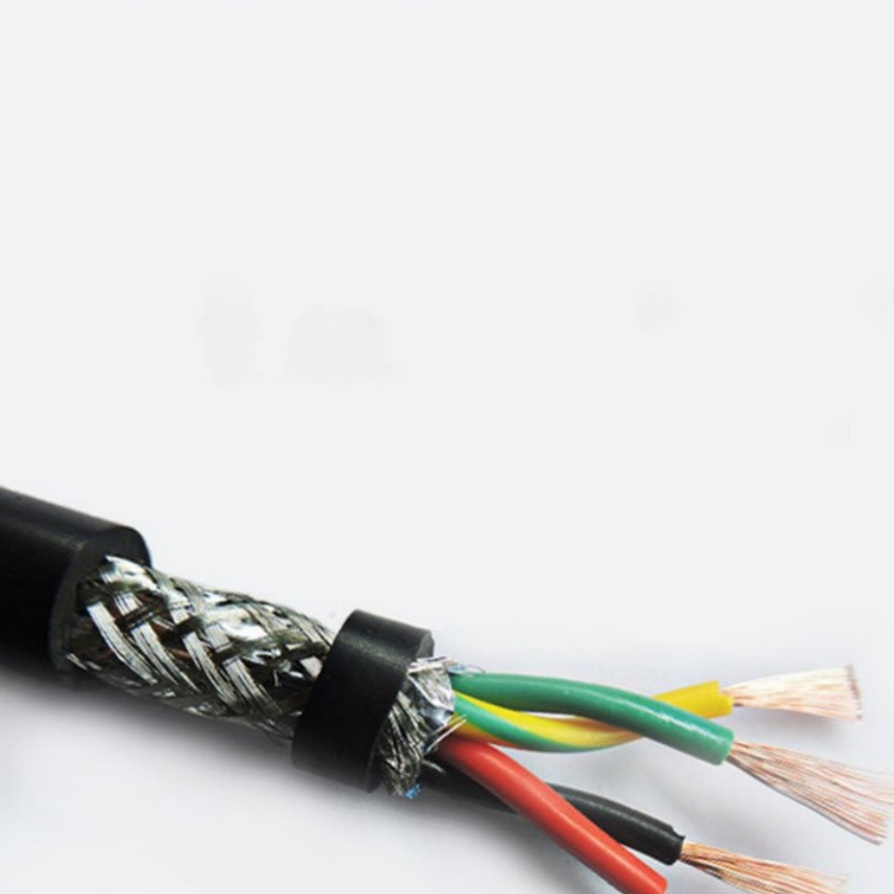
- Examine Internal Wires: If the sheath is damaged, carefully strip a small section (only if power is off) to check the internal conductors. Look for frayed wires, discoloration (from heat), or breaks. A broken conductor inside a seemingly intact sheath (called a “broken strand”) can cause intermittent power loss.
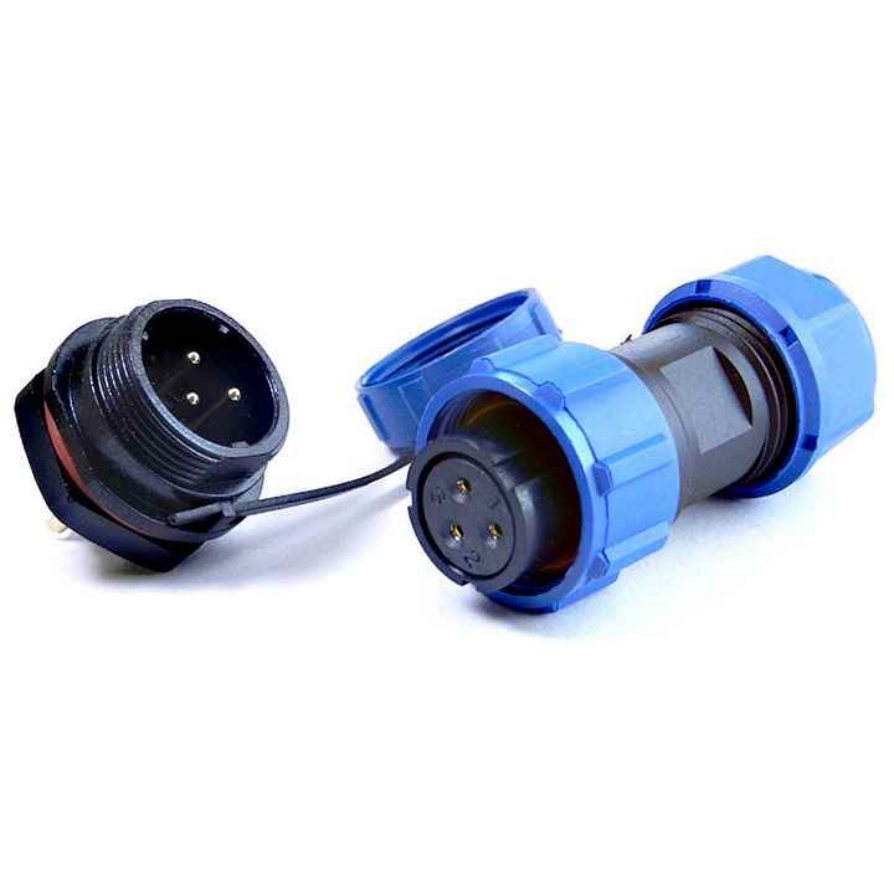
- Inspect Connectors & Terminals: Check the cable’s ends—including plugs, sockets, and terminal blocks—for signs of damage. Bent pins, cracked housings, or melted plastic indicate severe issues. If you find damage here, the connector may need to be replaced, even if the cable itself is intact.
If physical damage is found, mark the location and proceed to repair or replace the cable (see Section 4 for solutions). If no damage is visible, move to Step 2.
Step 2: Test Connections for Looseness or Corrosion
Loose or corroded connections are another leading cause of machine cable issues, as they create high resistance and interrupt current flow. Follow these steps to check connections:
- Tighten Terminals: Using a screwdriver (matched to the terminal’s size), gently tighten any loose screws on terminal blocks or connectors. Be careful not to over-tighten—this can strip the screw or damage the cable’s conductor.
- Clean Corroded Contacts: If terminals or pins have a green, white, or brown film (corrosion), use a wire brush to scrub away the buildup. Then, spray with electrical contact cleaner and wipe dry with a lint-free cloth. Corrosion often occurs in humid or dusty environments, so addressing the root environment (e.g., adding a dehumidifier) can prevent recurrence.
- Check for Vibration Damage: Industrial machines often vibrate, which can loosen connections over time. If the cable is near a high-vibration component (e.g., a motor), inspect the connector for signs of wear and consider using lock washers or vibration-resistant terminals to secure it.
Step 3: Test Electrical Performance with a Multimeter
Even if a cable looks intact, internal issues (like broken strands or insulation failure) can cause machine cable issues. Use a multimeter to test the cable’s electrical continuity and resistance:
- Test Continuity: Set the multimeter to the “continuity” mode (usually marked with a sound wave icon). Touch one probe to one end of the cable’s conductor and the other probe to the opposite end. If the multimeter beeps, the cable has continuity (no breaks). If there’s no beep, the conductor is broken, and the cable needs to be replaced.
- Check Resistance: Switch the multimeter to the “ohms” (Ω) mode. Measure the resistance of the cable—for most machine cables (16 AWG to 10 AWG), the resistance should be less than 1 ohm per 100 feet. A higher resistance reading indicates a damaged conductor or poor connection.
- Test for Shorts: To check for a short circuit (live wire touching ground or another wire), disconnect the cable from the machine and power source. Set the multimeter to “ohms” and touch one probe to a live conductor and the other to the cable’s ground wire or outer sheath. A low resistance reading (less than 100 ohms) means there’s a short.
Step 4: Evaluate Environmental Factors
Environmental conditions can accelerate cable degradation and cause machine cable issues. Assess the area where the cable is installed to identify potential stressors:
- Temperature: High temperatures (e.g., near furnaces or motors) can melt cable insulation, while extreme cold can make the sheath brittle and prone to cracking. Check if the cable is rated for the environment’s temperature range—for example, a standard PVC cable may fail in temperatures above 75°C (167°F), so a silicone or Teflon-insulated cable may be needed.
- Moisture & Humidity: Water or condensation can seep into damaged sheaths, causing shorts or corrosion. Look for signs of water damage (e.g., mold, discolored insulation) and check if the cable is in a damp area (e.g., near washdown stations). If so, use a water-resistant or waterproof cable (rated IP67 or higher) and seal connectors with heat-shrink tubing.
- Chemicals & Oil: Industrial fluids (e.g., hydraulic oil, solvents) can degrade cable sheaths. If the cable is exposed to chemicals, verify it’s made of chemical-resistant material (e.g., neoprene or polyurethane). Wipe away any oil or chemical residue from the cable to prevent further damage.
- Mechanical Stress: Cables that are pulled, twisted, or crushed during machine operation or maintenance will fail over time. Ensure the cable is routed properly—avoid tight bends (the minimum bend radius is usually 5-10 times the cable’s diameter) and use cable trays or clamps to secure it away from moving parts.
Step 5: Verify Cable Compatibility & Installation
Sometimes, machine cable issues arise not from damage, but from using the wrong cable or installing it incorrectly. Confirm these factors:
- Cable Gauge (Size): The cable’s gauge must match the machine’s current requirements. An undersized cable (too thin) will overheat, while an oversized cable may not fit in connectors. Check the machine’s manual for the recommended gauge—for example, a 5-horsepower motor may require a 10 AWG cable, while a small sensor may use a 22 AWG cable.
- Voltage Rating: The cable’s voltage rating must exceed the machine’s operating voltage. Using a low-voltage cable for a high-voltage application (e.g., a 300V cable for a 480V machine) will cause insulation breakdown and shorts.
- Shielding: For signal cables (e.g., for sensors or control systems), shielding prevents electromagnetic interference (EMI) from nearby motors or power cables. If the cable is unshielded or the shield is damaged, EMI can disrupt signals. Check that the shield is properly grounded at both ends (or one end, depending on the application) to reduce interference.
4. Solutions to Common Machine Cable Issues
Once you’ve identified the root cause of the machine cable issues, use these targeted solutions to resolve them:
- Physical Damage (Cuts, Fraying): For minor damage (small cuts in the sheath with no wire exposure), wrap the area with electrical tape (rated for the cable’s voltage) for a temporary fix. For severe damage (exposed or broken wires), replace the entire cable—splicing (joining two cable sections) is not recommended for industrial machines, as it creates weak points and increases the risk of future issues.
- Loose or Corroded Connections: After cleaning corroded terminals, re-tighten them and apply a thin layer of anti-corrosion grease (e.g., dielectric grease) to prevent future buildup. If terminals are bent or stripped, replace the connector or terminal block entirely.
- Broken Conductors (No Continuity): If the multimeter shows no continuity, the cable must be replaced. When installing a new cable, ensure it matches the original’s gauge, voltage rating, and shielding. Label the new cable (e.g., “Motor Power Cable 1”) to simplify future maintenance.
- Short Circuits: Locate the short (using the multimeter’s resistance test) and replace the damaged section of the cable. If the short is caused by insulation failure (e.g., melted insulation), check for overheating sources (e.g., a faulty motor) and address them before installing a new cable.
- EMI Interference (Erratic Signals): Replace unshielded signal cables with shielded versions. Ensure the shield is grounded correctly—for most industrial applications, ground the shield at both the sensor/actuator and the control panel. If interference persists, use EMI filters or route the signal cable away from power cables (maintain at least 6 inches of separation).
5. Preventive Measures to Avoid Future Machine Cable Issues
Troubleshooting is essential, but preventing machine cable issues in the first place saves time and money. Implement these preventive steps:
- Regular Inspections: Schedule monthly visual checks of all machine cables, focusing on high-wear areas (bends, connectors, near moving parts). Use a checklist to document damage or wear, and replace cables before they fail.
- Proper Installation: Train maintenance teams on correct cable routing (following minimum bend radii) and termination (tightening terminals to the manufacturer’s torque specifications). Use cable clamps, trays, or conduits to protect cables from mechanical stress.
- Choose the Right Cable for the Environment: Select cables rated for the machine’s temperature, moisture, and chemical exposure. For example, use heat-resistant silicone cables near ovens, waterproof cables in washdown areas, and chemical-resistant polyurethane cables in factories with solvents.
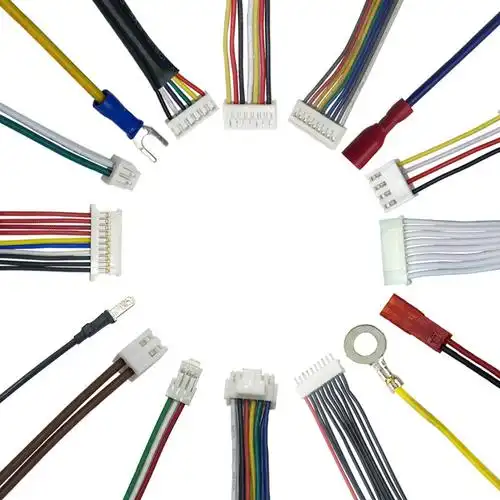
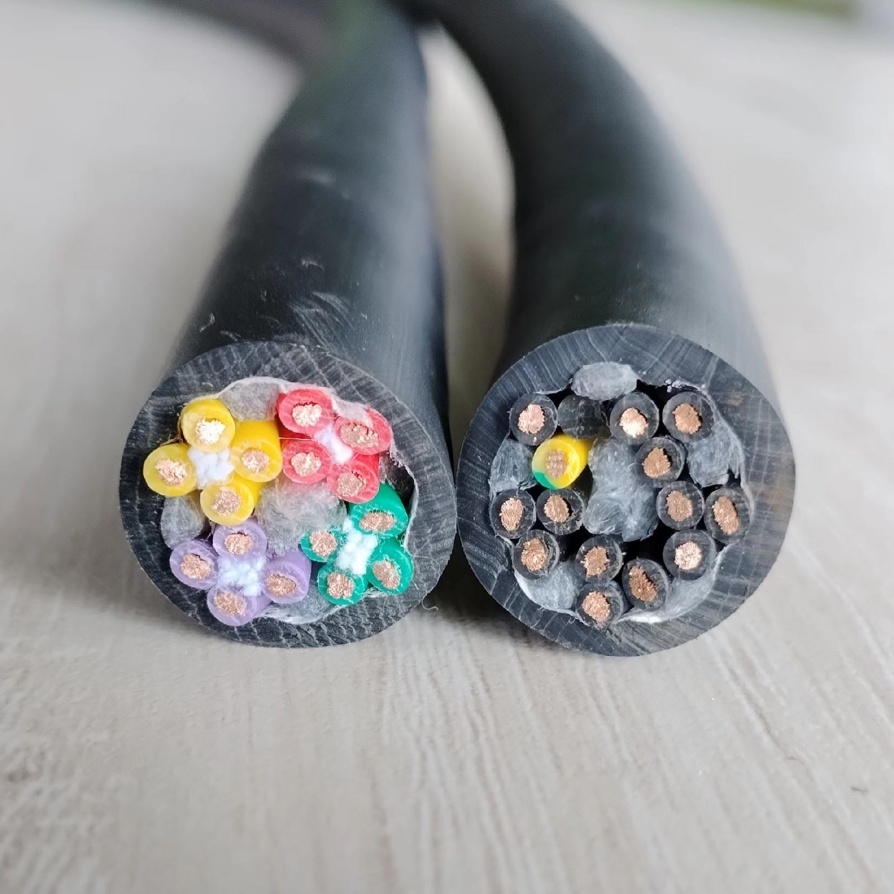
- Implement Cable Management: Organize cables with labels, color-coding (e.g., red for power, blue for signals), and cable ties (avoid over-tightening, which can damage sheaths). This makes inspections easier and reduces the risk of accidental damage during maintenance.
- Train Staff: Educate operators and maintenance technicians on the signs of machine cable issues (e.g., overheating, erratic performance) and the importance of reporting problems immediately. Encourage safe practices, like not pulling cables to move machines.
Why Choose FRS for Your Machine Cable Needs?
When it comes to resolving and preventing machine cable issues, the quality of your cables matters most—and FRS is your trusted partner for durable, high-performance machine cables. As a leading factory specializing in industrial cables, FRS designs products that address the exact challenges you face during troubleshooting:
- Resistance to Physical Damage: FRS machine cables feature thick, abrasion-resistant outer sheaths (made from PVC, neoprene, or polyurethane) that withstand mechanical stress, cuts, and bending—reducing the need for frequent repairs. Our cables are tested to endure the rigors of industrial environments, from heavy machinery vibration to tight cable routing.
- Reliable Electrical Performance: Every FRS cable is manufactured with high-conductivity copper conductors and premium insulation, ensuring low resistance (for consistent power flow) and strong insulation resistance (to prevent shorts and ground faults). Our cables meet or exceed industry standards for voltage, current, and temperature, so you can trust them to perform under pressure.
- Environmentally Adaptable: FRS offers a full range of machine cables tailored to your workspace—from heat-resistant silicone cables for high-temperature applications to IP68-rated waterproof cables for damp areas, and chemical-resistant options for factories with harsh fluids. No matter your environment, we have a cable that minimizes environmental wear and tear.
- Expert Support: Beyond high-quality products, FRS provides technical assistance to help you troubleshoot machine cable issues. Our team of engineers can help you select the right cable gauge, shielding, and material for your machine, and offer guidance on installation and maintenance to prevent future problems.
When you choose FRS machine cables, you’re not just buying a product—you’re investing in less downtime, fewer repairs, and longer equipment life. Let FRS be your partner in keeping your machines running smoothly, so you can focus on what matters most: growing your business.


